Monday, 27 August 2018

The Dressmaker's Cottage Finished: Part 1


I don't think any project is ever 100% finished but I am happy to hand over this one at this point to my daughter!

Let's start with the outside!  This was what it looked like once I had finished the exterior (see the rests of the exterior here).  I had done basic landscaping.


I had paved a path and added a fence and some vines and grass.


Once I had stopped fiddling with the interior, I could add the rest of the landscaping without fear of losing it every time I moved the house, lol (although they are all attached with museum wax!).

The daughter loves her bike, so of course the garden had to have one.  The I added flowers and plants, chair, hat and garden tools, amongst other things.  I love the leaves, although I didn't make them, they came in a set with the rake.

The hydrangea and strawberry are from LoveratsMiniMishmash on Etsy, and the parsley pot is from PinkabellaMinis on Etsy.


Moving onto the interior!  Here it is all in one shot.


Just the downstairs:


And the upstairs:


The upstairs consists of the bedroom and bathroom.


Here is the Dressmaker's bedroom!  The dressmaker herself is a Heidi Ott doll, in a gorgeous dress and shoes from Into the Blue Couture on Etsy.

The hat is from Mondina Dollhouse on Etsy.


The fur rug, skates and basket are from Minimum World.  My daughter has ice skating lessons each week :-)


The bedspread is from Beautifully Handmade on eBay.  The pillow, tray and rug are from Mondina Dollhouse, and the tea cup with lemon slice from A Lavender Dilly (Etsy).


Her dress has lovely details and does up with teeny tiny buttons in the back!


Here we have the bathroom:


I love the tiny little bottles of nail polish!  So sweet!  The nail polish, hair straightener and hair dryer are from Delph Miniatures.


I'll continue with the downstairs rooms in another post :-)

Thursday, 23 August 2018

The Dressmaker's Cottage: the last additions!

The very last things I needed to do to the Dressmaker's Cottage before decorating were to finish all the curtains, painting the furniture, and installing the lights.

I was stalling on the curtains for weeks as I didn't have anything suitable in my stash.  Eventually, I buckled down and found a piece of pink lace from an old slip, and ordered two more blinds from Etsy.

 Bedroom dormer window, three layers of lace glued to a small piece of card:


 Bedroom window blind (Mini Maison Miniatures):


Kitchen blind (Mini Maison Miniatures):


Once the blinds were done I moved on to finishing up the furniture.  The bed and wardrobe were both bare wood, so I painted them with an undercoat of pink, followed by crackle glaze and a white top coat.

The hat stand, ironing board, pie crust side table and bookshelf were mahogany but they needed the shabby treatment, so they got an undercoat of grey and then a top coat of white, before they were lightly distressed with sandpaper.


I decided to add pretty paper to the inside and outside of the wardrobe, and I replaced the handles with crystal knobs.


Finally, I decided to add battery lights as they are so simple and easy to install!  The sewing room got a chandelier, and the kitchen a textured dome shade, and I was pretty happy with those so I ordered a wall lamp for the bathroom, and table lamp for the bedroom and a floor lamp for the sitting room.


Ta da! Everything in the house!  I'll do a pictorial review tomorrow to look at everything properly.


Thursday, 21 June 2018

Hufflepuff Roombox Finished

Yay, the Hufflepuff Roombox is finished!  I'm pretty pleased with how it all came together and it was a good learning experience for making a lot of the pieces.

The kit comes with pieces of perspex to make a dust cover which is great, as dusting these tiny pieces would be annoying, lol.


I printed the fabric for the bed cover, chair cushions, bed cushions, rug and curtains on special paper-backed fabric designed for ink jet printers.  The curtain tie backs and tassels are made from gold thread, and the bed throw is a tiny piece of fabric.


I did decide that I wasn't fond of the white bird cage as it was difficult to see the owl inside, so I painted it with Tim Holtz Distress Paint in Tarnished Brass.


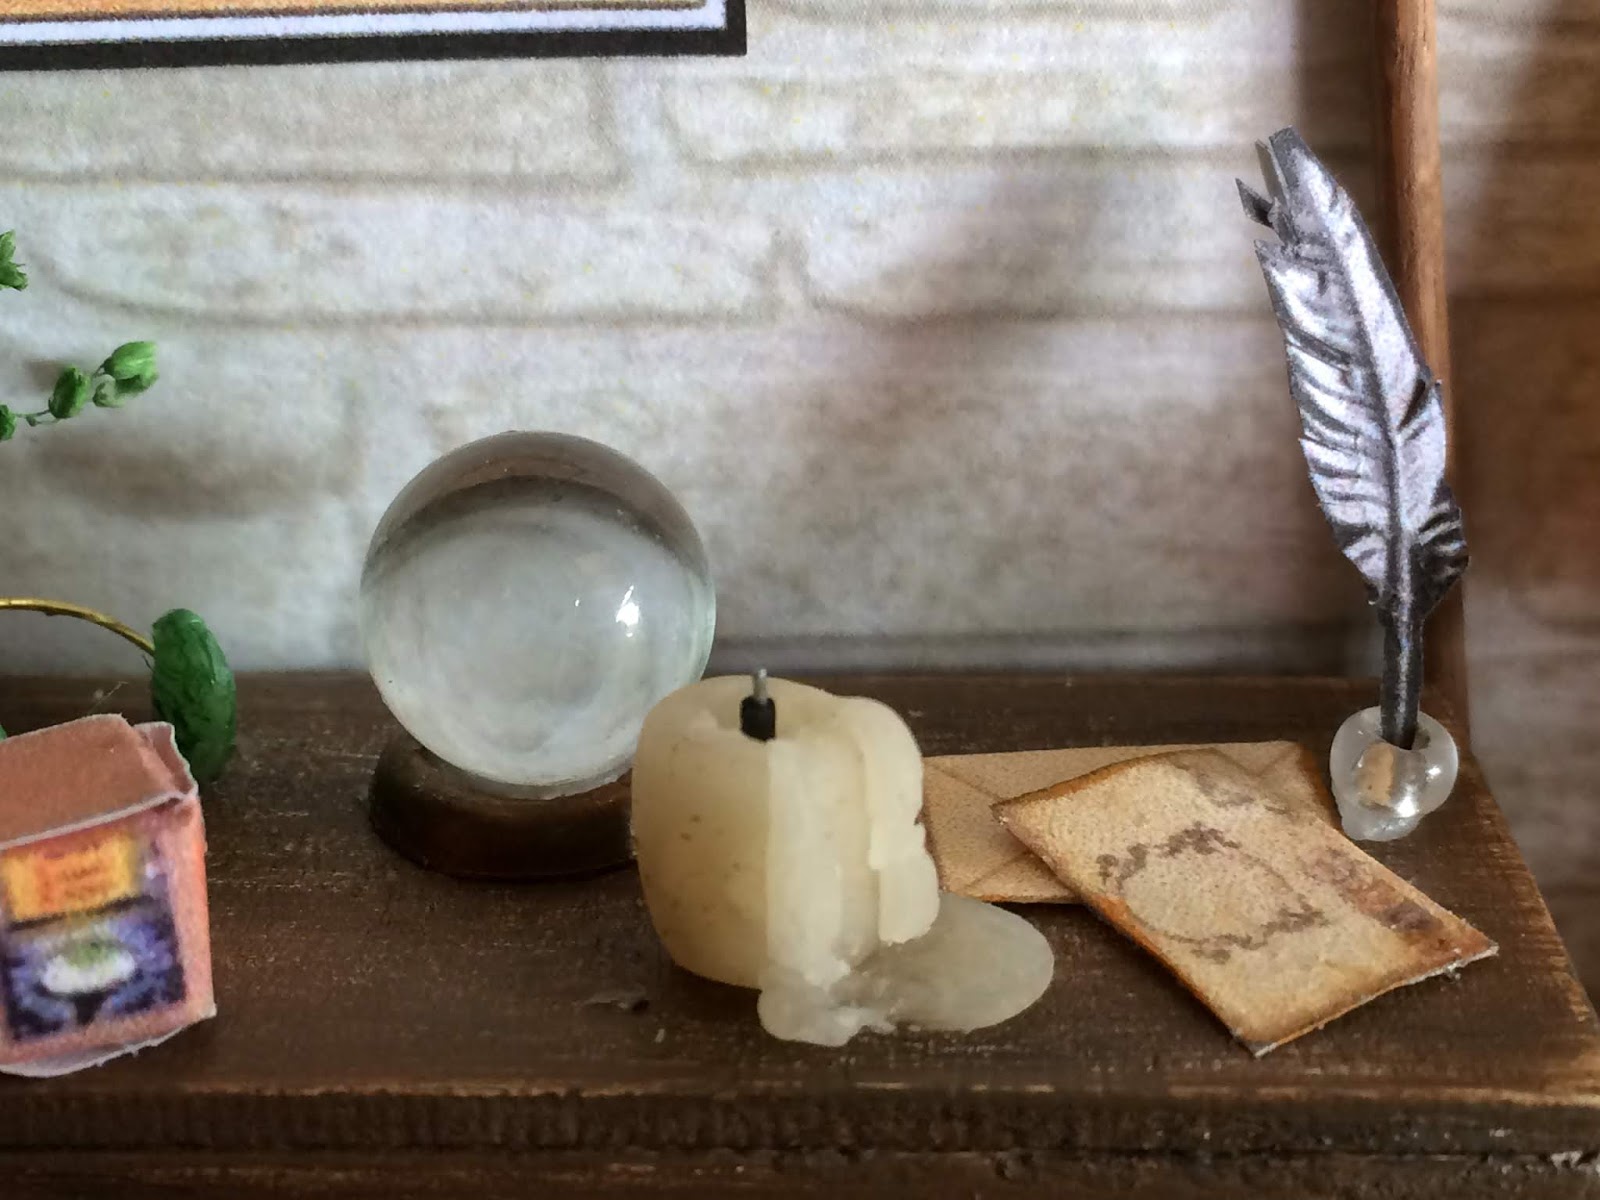
I made the candles from Sculpey, my first ever attempt.  I also made the green ear muffs (for using when repotting mandrakes!) from Sculpey and wire.  The envelopes are printies, as is the quill, the Weasley Wizards candy box and the Mandrake poster. The ink pot is a bead, and I bought the 1:24 scale crystal ball online.


When I glued the pieces of the desk hutch together, I must have bumped it before it dried completely, as it is slightly wonky.  So I did what all good students do when they have a wobbly desk - I stuck a copy of The Quibbler under the leg!!  Worked perfectly :D


The potion bottles are made from plastic beads and I made the text books and scrolls from printies.


Just for my own future reference, the books I made for the bookshelf include Hogwarts: A History,  Advanced Potion Making, Ancient Runes Made Easy, Unfogging the Future, The Hairy Heart, When Muggles Attack, Defence Against the Dark Arts, A History of Magic, Easy Spells to Fool Muggles, Which Owl?, Owl Breeds, Gilderoy Lockhart's Magical Me, Winogrand's Wondrous Water Plants and  - of course! - Newt Scammander's Fantastic Beasts and Where to Find Them.


The recipe sheet on the desk is too small to read, but it is for Polyjuice Potion.  The mortar and pestle and wand I bought online.  The basket on the shelf to the left contains Dragon Eggs!


I also made the potted plant - my version of Neville Longbottom's Mimbulus mimbletonia -  out of Sculpey and painted it.  The pot came with the kit.


I made the plant from pieces in the kit - it is supposed to look like the flowers have eyes, lol.


The little suitcase under the desk is a printie.


All in all, it was pretty fun!!

Saturday, 16 June 2018

Hufflepuff Roombox: A pause in proceedings, a project for me!

So it was my birthday last week and I decided that since it was a wet and gloomy week, I should take a quick-and-dirty detour from working on the Dressmaker's Cottage and make something for me!

Some time ago I stumbled across this video on Youtube by The Hollycopter and being a Hufflepuff - as are two of my 3 daughters - I fell in love with it and bought the same roombox kit on eBay! I believe it is from Cuteroom, and called "The Heart of the Ocean".

This is the picture on the box, and yes, the instructions are all in Japanese (?), but there are pictures :-)


This is the beginning; the floor and wall covered...The holes are for the music box and the light.


Constructing the bed and linen... I found the fabric via the link in the video and printed it out on the printer fabric The Hollycopter recommended.  I cropped the fabric sample to make the cushions, rug and curtains.


Here's the obligatory owl!  She is from Alpha Stamps, and I bought the cage on eBay.  I'm not sure if I like the white cage it not, I might paint it.


The room is starting to come together.


Better! I painted the furniture and window frames with Jo Sonja wood stain gel in Jacobean Oak and  lightly sanded them lightly to add texture. Then I dabbed the sanded areas with Tim Holtz Distress Paint in Walnut Stain.


As I mentioned before, I printed out the curtains on printer fabric using my inkjet printer.  I pinned the folds and set it with hairspray - forgetting that I had not set the ink on the fabric and it ran everywhere when the fabric got wet!!  Fortunately, it just faded it a little, which adds to the effect I was going for ;-) Phew!


A little suitcase made from a printie I found on Pinterest.


A quill made from paper, the ink pot is a bead and the envelopes are printies.


Newspapers and potion bottles made from beads.


The curtains in place, hung on stained toothpick "rods", with ties and tassels made from thread.


A Madrake poster and the light fitting made from beads and wire.  No matter what I do I can't make the LED light bulb work - I am pretty sure the battery pack that came with the kit is broken as I tried it with two sets of new batteries and on two spare LEDs and couldn't make any of them work.  So sad :(  New battery packs are inexpensive, I will just have to wait until my next mini order.


I played with Sculpey for the first time and made a couple of tiny candles, and this Harry Potter plant!  It is supposed to be my take on Neville's Mimbulus mimbultonia plant :-)


I think nearly everything is done now, except for making a blanket for the bed (because comfy), then  it is getting the time to put it all together!