Showing posts with label interiors. Show all posts

Thursday, 23 August 2018

The Dressmaker's Cottage: the last additions!

The very last things I needed to do to the Dressmaker's Cottage before decorating were to finish all the curtains, painting the furniture, and installing the lights.

I was stalling on the curtains for weeks as I didn't have anything suitable in my stash.  Eventually, I buckled down and found a piece of pink lace from an old slip, and ordered two more blinds from Etsy.

 Bedroom dormer window, three layers of lace glued to a small piece of card:


 Bedroom window blind (Mini Maison Miniatures):


Kitchen blind (Mini Maison Miniatures):


Once the blinds were done I moved on to finishing up the furniture.  The bed and wardrobe were both bare wood, so I painted them with an undercoat of pink, followed by crackle glaze and a white top coat.

The hat stand, ironing board, pie crust side table and bookshelf were mahogany but they needed the shabby treatment, so they got an undercoat of grey and then a top coat of white, before they were lightly distressed with sandpaper.


I decided to add pretty paper to the inside and outside of the wardrobe, and I replaced the handles with crystal knobs.


Finally, I decided to add battery lights as they are so simple and easy to install!  The sewing room got a chandelier, and the kitchen a textured dome shade, and I was pretty happy with those so I ordered a wall lamp for the bathroom, and table lamp for the bedroom and a floor lamp for the sitting room.


Ta da! Everything in the house!  I'll do a pictorial review tomorrow to look at everything properly.


Wednesday, 9 May 2018

The Dressmaker's Cottage: Bathroom Progress

I've been playing with the bathroom for the last couple of days.  I started by making a faux roman blind for the dormer window.  I cut a section of fabric with lace trim to fit the window from an old handkerchief, and glued a short piece of white-painted trim (skinny sticks) either side of the top.  I added a couple of folds, which I glued in place, and then glued the blind to the top of the dormer.

Next, I used most of the remainder of the hankie to make a shower curtain.  I folded the top down and threaded 4mm jump rings (in antique bronze) through the lace to act as curtain rings.

The heaviest gauge wire I had in my stash was only 20 but I used it anyway! I cut a length to fit and painted it with tarnished brass distressing paint. Then I threaded the curtain onto the rod, and glued a jewellery spacer on either end.

Using pins, I pleated the curtain roughly and sprayed it heavily with hair spray and left it to dry overnight.


Here is the dormer blind and shower curtain in place - please excuse the dark photos as it is over cast today :(


Of course then I had to check how the curtain looked with the bath tub!  The bath tub as is, is pretty boring and uninspiring:


I used the tarnished brass paint again on the taps, and the legs but the outside was bothering me.

I only have acrylic paints on hand, which obviously won't adhere to the porcelain so I was stumped for a while, until I remembered that I have a porcelain pen in my stash.  It needs to be baked on to ensure a permanent finish - which I didn't want to do for fear of ruining it! - but I think it will be OK as long as it isn't handled too much.  I was pretty happy with the shabby, mottled look of one rough coat with the pen.


I felt it needed a bit more aging though, so I went over the dry ink first with a Walnut Stain distressing paint dabber, and then a Weathered Oak (grey) paint dabber.  Not too bad?


I also added a bit of staining to the drain ;-)


And here it is in situ.


I think it is coming along OK, considering that Shabby Chic is NOT my thing at all, lol!!


This is the bathroom with the sink and toilet from the set the tub came from added in.


I'm not happy with the boring toilet as it is, but I am not sure what to do with it to help it tie in with the bath tub?  I was originally thinking of painting the seat pale pink but perhaps that would clash with the black tub?  Although it would probably clash less than the timber seat does now! 

I will also age the sink taps with tarnished brass to match the bath taps, and possibly mount a shelf above the bath for storing toiletries.  I also need to hang the mirror above the sink.  Then, once the stair railing is complete, the bath room will be ready for accessories :-)

Monday, 7 May 2018

The Dressmaker's Cottage: Interior Trim Finished

I pottered away this week finishing off the interior trim. I had to paint some more skinny sticks and trim, and then finished off the cornices, skirting and other bits of trim.

In between, I worked on the fireplace, as that had to be installed before I could finish the trim on that wall.

I added a small piece of leftover textured brick paper to the rear of the mantel, and painted it. I made a hearth out of a scrap piece of balsa wood and painted it too, then added a little highlighting to the mantel with a Tim Holtz dabber in Weathered Oak.  It's not great, but you can't see too much of it as it is side-on to the rear opening.


It's nice to have the French doors glued in so that the cat will stop knocking them out, lol.  I aged the handles with some Tim Holtz distress ink in Tarnished Brass and used beads (also aged with the ink) as handles on the inside.


Next up is to complete the railing for the staircase return in the bathroom, but I soon discovered that I don't have any spindles in 1:12 scale (heaps in 1:24 scale lol) so I have had to order some and will wait for them to arrive.

In the mean time, I will work on the curtains and blinds.  I ordered a couple of pre-made blinds and a set of curtains on Etsy from a local mini-maker, which are really cute!  They will go in the bump-out.  This was originally going to be the sewing room, but now I think I will swap the sewing room with the lounge area so that you can see all the cute sewing miniatures more easily. It would be a shame to have everything tucked away where you can't have a good look at it all :-)

So, for now I am scrounging through my fabric box to see if I have anything suitable for blinds for the two dormer windows, and curtains for the bedroom and kitchen windows.

Monday, 30 April 2018

The Dressmaker's Cottage: Interior Beginnings

Well, my mini-making became stalled for several months after my daughter #1 was given a kitten for her birthday... and that kitten is Very Naughty!  I learnt very quickly that tiny miniatures, glue and paint are irresistible to energetic kittens who haven't been taught not to jump up on tables so my gear has been packed up until now.

Now, daughter #2, the owner of The Dressmaker's Cottage, has asked that I finally finish off the interior, please!

This is how it is at the moment.  There are some repairs required after the house had a tumble off shelf (!) and then next is to finish off the remaining trimming - door & window frames, cornices & skirting boards and the stair posts.


After that, the curtains and blinds and the fireplace... and then the furniture!  I have lots of bare wood pieces which need painting and decorating before they go into the house too.

Decorating is NOT my forte, so I'll see how I go, lol.

Monday, 25 September 2017

The Dressmaker's Cottage: Upstairs Trim & The Stairs

Today I finished white-washing the beadboard upstairs, and then trimmed out the top with 2.5 x 2.5mm balsa sticks.

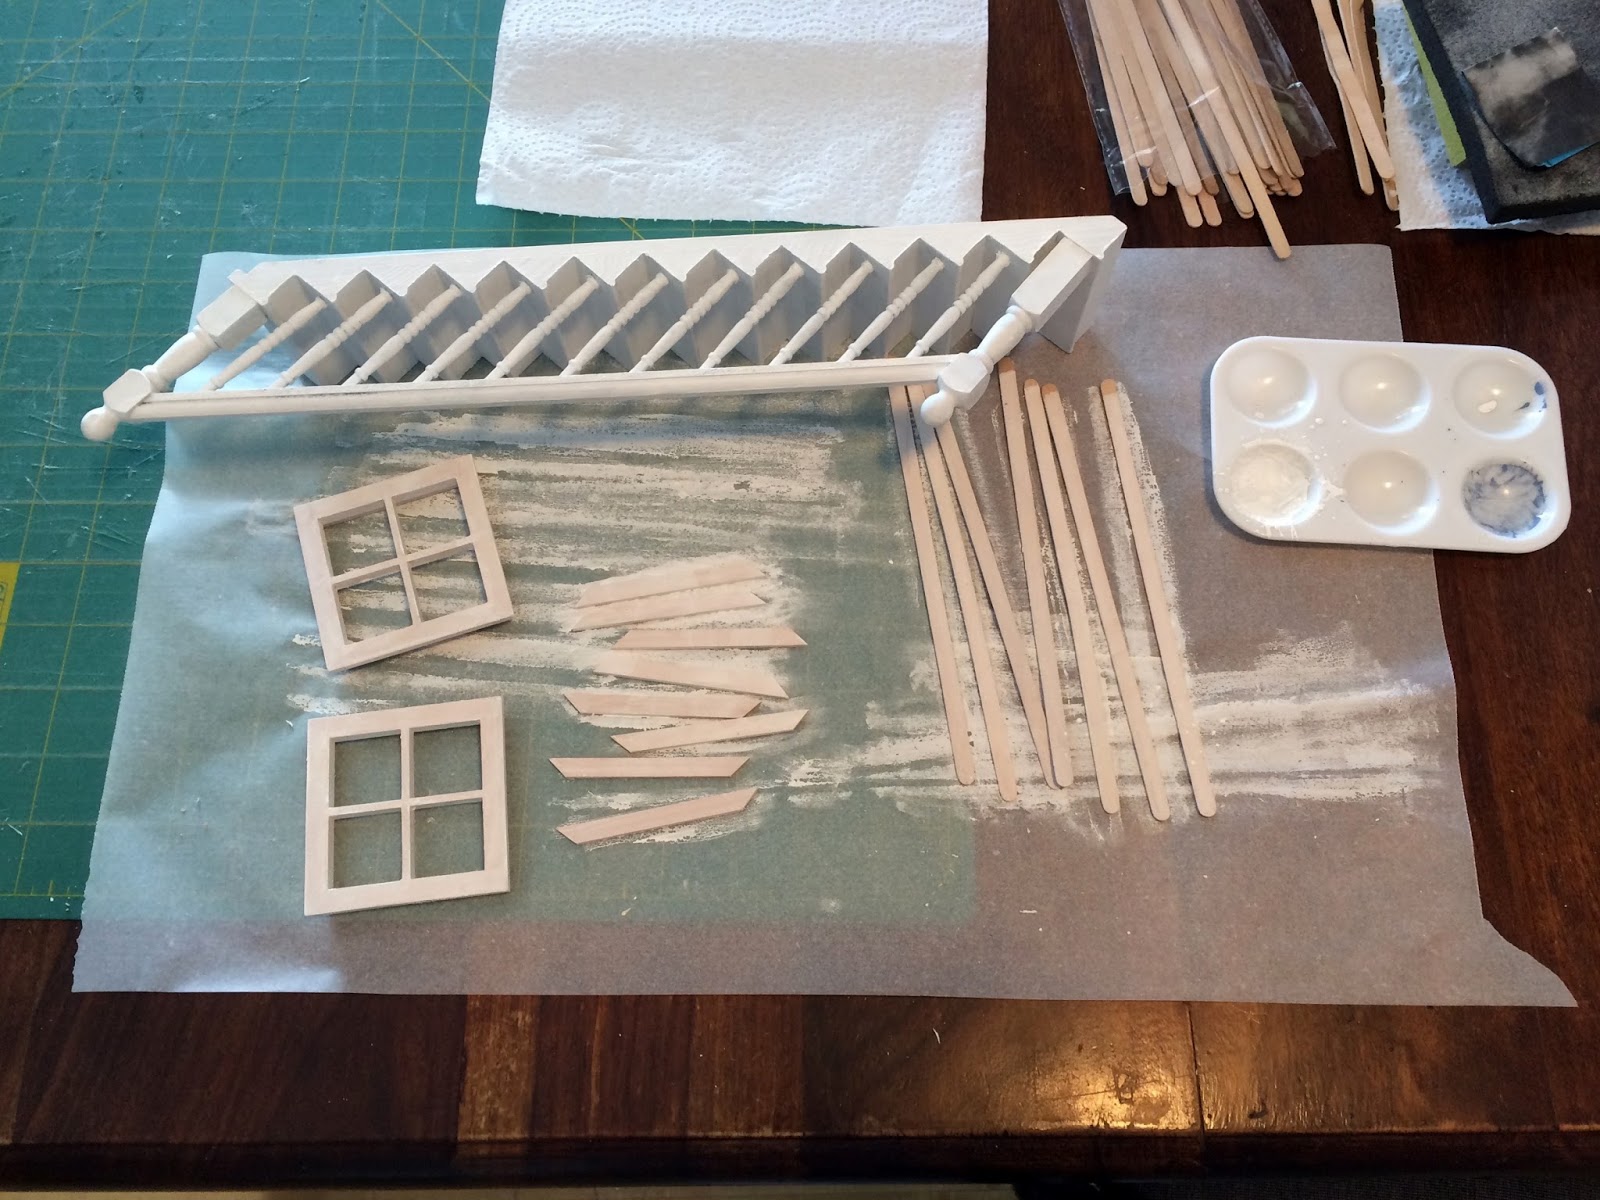
Then I undercoated the stairs (I bought a pre-made set online) and popped them in to see how they looked in place :-)


Then I moved on to the skirting boards, using skinny popsicle sticks (Skinny Craft Sticks from Riot Art - these are 5mm wide unlike regular pop sticks, which are 10mm wide), painted white, and with the round ends cut off. 


The stair set I bought was quite plain, and I felt I needed to fancy it up a bit to fit in with the shabby chic look!  I painted it with several shades of white and blue, then sanded it roughly to age them (although that doesn't show up very clearly in the photo).


I then used small pieces of 2.5 x 2.5mm balsa sticks, cut in half, to add a bit of dimension to the edge of each step.


Lastly, after asking for suggestions on Instagram, I remembered I had a cheap wooden fan I bought to use for miniatures in my stash.  I cut up several of the pieces to make small imitation moulding for each stair end. 


When they are painted painted and roughly sanded, I think they will add a nice touch to the house :-)

Sunday, 17 September 2017

The Dressmaker's Cottage: The Bathroom

Now that the first floor is in place and the flooring is done, I can move onto the bathroom!

Firstly I dry-fitted a dividing wall between the bathroom and the bedroom.  I won't have a "proper" doorway between the, just a gap in the wall at the back of the house.


While it was still flat, I wallpapered it to match the existing bathroom and bedroom papers.  I left a gap at the bottom of the wall as I want to add faux "beadboard" around the bottom of the bathroom walls.


Before I glued in the partition wall, I added the beadboard, made from a packet of mini popsicle sticks (Arbee Mini Craft Sticks from Spotlight), which I had previously cut the rounded ends from.


With that wall done, I moved on to doing the rest of the room.


With the partition wall now glued in place, I began white-washing the beadboard, with the same diluted white acrylic paint as the floorboards.


It needs trimming out, but it's looking good so far I think :-)

Saturday, 16 September 2017

The Dresssmaker's Cottage: Flooring

As per the cottage tutorial, I have used balsa sticks as floorboards.  These came in a packet from Spotlight and are thicker than coffee stirrers - around 5mm wide by 3mm thick (ECObalsa Basics Sticks).  I tried to stagger them for a more realistic look, but I didn't concern myself with getting them too perfect, as I am going for the "shabby chic" look!

Getting started:


Ground floor done!


Lightly sanded:


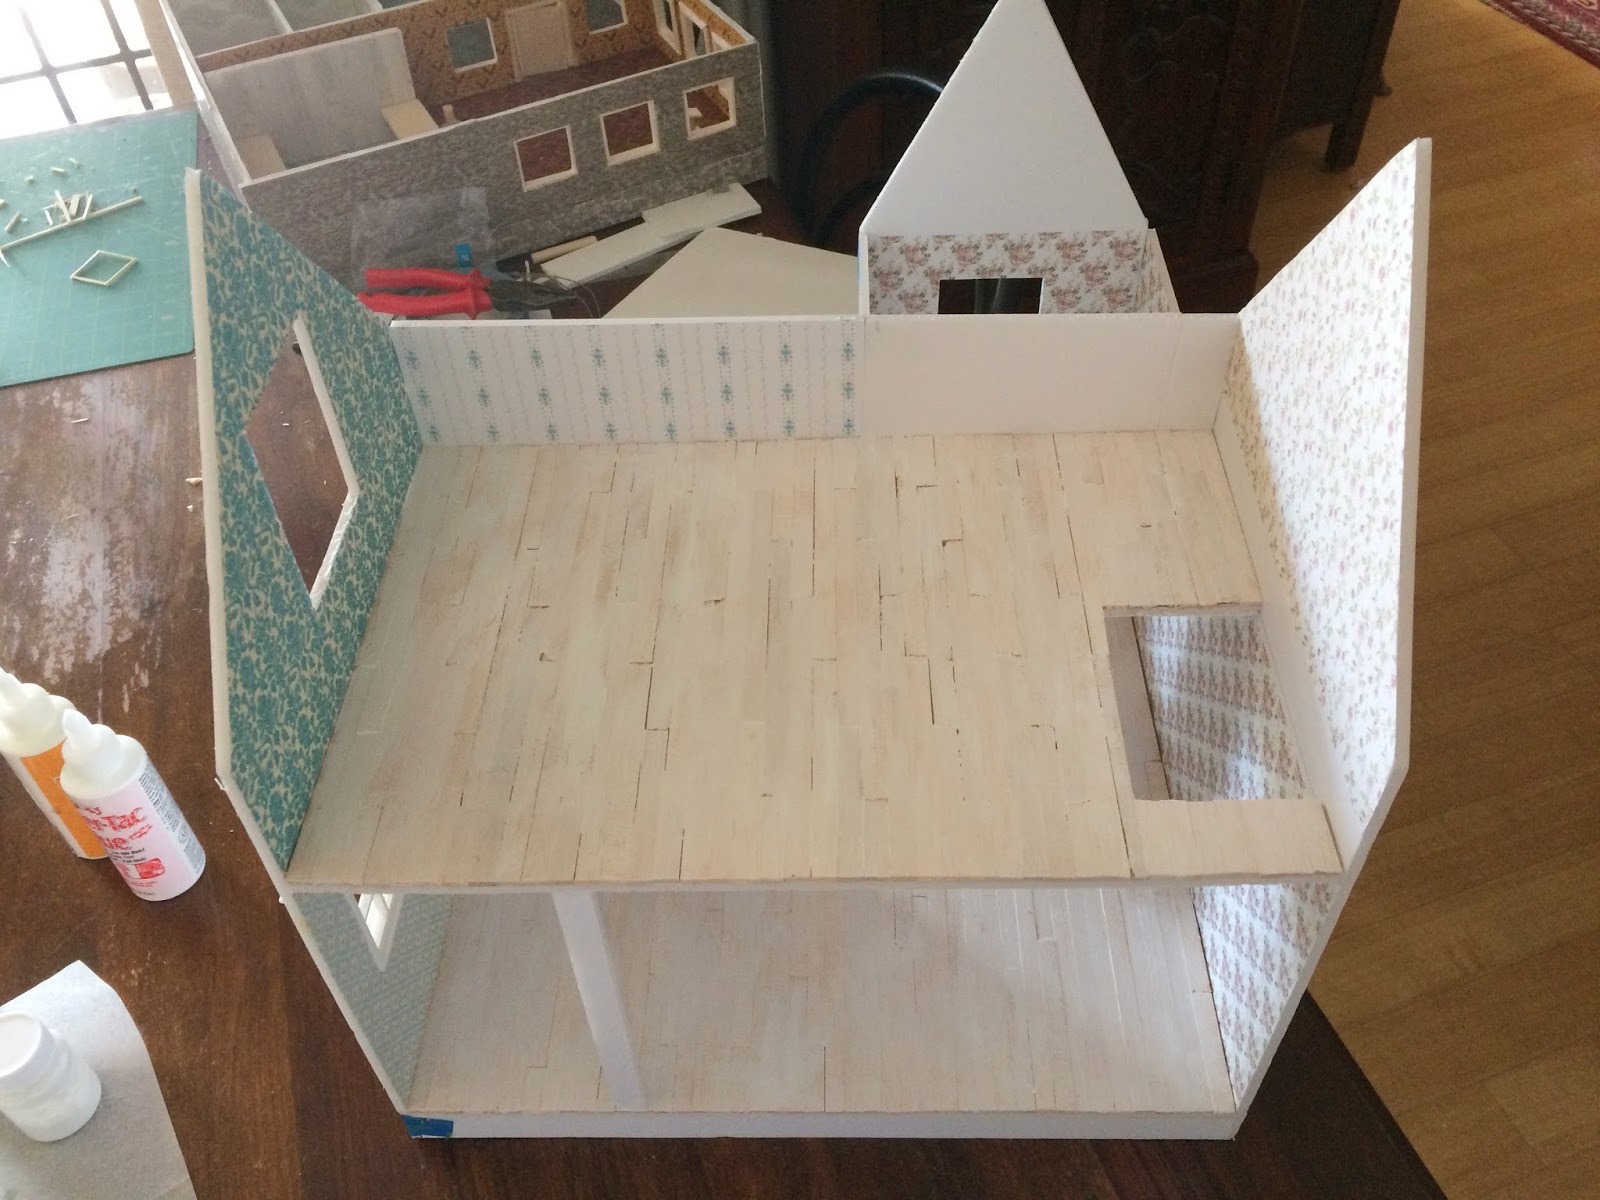
Now it's time for the second floor!  First I dry-fitted a piece of foam board cut to size, with a hole cut for the future stairs on the right hand side.


Once I was happy with it,  I glued the floorboards to it before attaching it to the actual house, so that I didn't have to put pressure on the foam floor.  Plus, it's easier to do when it's flat on the table!


A light sanding and it's time for white-washing!


I used Titanium White acrylic paint diluted with water, to white-wash the floors in order to show up the grain and accentuate the shabby chic look :-)


It's starting to look more like a cottage now!


Sunday, 10 September 2017

The Dressmaker's Cottage: Wallpaper Beginnings

I don't have any 1:12 scale wallpaper in my stash, and ordering it is so expensive when you add in the cost of postage, so I decided tp print my own on my laser printer, and then seal it with ModPodge.

I found most of the patterns I used on Pinterest.  Some were full page, free printables, and others were free tileable pattern blocks.  I opened these in Microsoft Publisher on my laptop and tiled them across the page before printing them out.


It's a LOT easier to apply wallpaper to the walls when you can lay them flat on the table!  So before I glued the walls together, I applied wallpaper to as many surfaces as I could, then cut out the windows and door spaces using a sharp craft knife.


Here you can see the kitchen on the ground floor, and the bedroom upstairs.  The blue damask is almost identical to the wallpaper feature wall my daughter has in her own bedroom :-)


This is the lounge room and the sewing room, which is located in the little extension at the front.  The stairs will run up the right hand wall between the two rooms.  The bathroom will be at the top of the stairs, above the lounge room.