Wednesday, 27 September 2017

The Dressmaker's Cottage: The Roof

Gah! The roof!  I was quite nervous about this step, as I've never made dormer windows before!  Caroline's tutorial on her blog, Cinderella Moments, didn't include instructions so I knew I just had to wing it, lol.

I started with the piece of foamboard, cut to size, with holes cut out for the window frames.  Caroline made hers, but I'm not so clever, and I bought mine ready-made on eBay.


The next step was to wallpaper the insides, as it is always easiest to do this on a surface flat on the table!  I used wallpaper on the bedroom side.


But on the bathroom side, Caroline made faux tin tiles using a glue gun.  I experimented with tin tiles but my glue gun is very cheap and nasty, and the glue comes out in big ugly globs, regardless of how carefully I apply, lol.

I knew I wanted something with texture, and when I was wiping up a min mess, I noticed the texture of the paper towel I was using and I figured it might look OK.

So, I ModPodged a piece to make it stiffer, and then glued it to the bathroom ceiling.  When it was dry, I painted it white.  I think it looks pretty good :-)

Then, using skinny sticks again, I framed the dormer window openings. 


Onto the dormers!

It took me a little bit of jiggling around with cardboard templates to come up with something that I thought looked OK for the window frames.


I traced the templates onto the foam board and cut them out, then glued them to the painted window frames.


I knew it would be difficult to access the interior of the dormers once they had been installed, so I took the opportunity to use spackle on all the joins, both inside and out.


Caroline's cottage has faux metal sheet roofing on the dormers and the bump out, so I attempted to approximate her roof using cardboard (from a cereal box) with the thin strips of the same cardboard across the top and along the sides.

I painted the cardboard grey and then used silver and off-white acrylic paint to add highlights.  I coated the sides of the dormers with Jo Sonja's Texture Paste, using a stippling brush to approximate a stucco finish.


I think they turned out OK for a first timer!

Now it was time for shingling!!  I was super nervous about this too, but I was glad that I was going to a run-down shabby chic look, rather than perfection, lol, so I just grabbed the shingles and tacky glue, and went to town (after undercoating the roof with brown paint).

The shingles I bought from eBay and they arrived pretty bashed up and broken.  Although I had enough for what I needed, pretty much none of them were the same size!  That forced me to just eye-ball the rows, while attempting to keep the bottoms of the shingles relatively straight!

The front almost done:


And the back piece (also made from a piece of foam board, cut to shape):


It's just roughly taped in place, but it's done finally.  Now for the painting of the shingles.  I can't decide what colour/s to use (or to stain them) so I think about it for a while :-)


Monday, 25 September 2017

The Dressmaker's Cottage: Upstairs Trim & The Stairs

Today I finished white-washing the beadboard upstairs, and then trimmed out the top with 2.5 x 2.5mm balsa sticks.

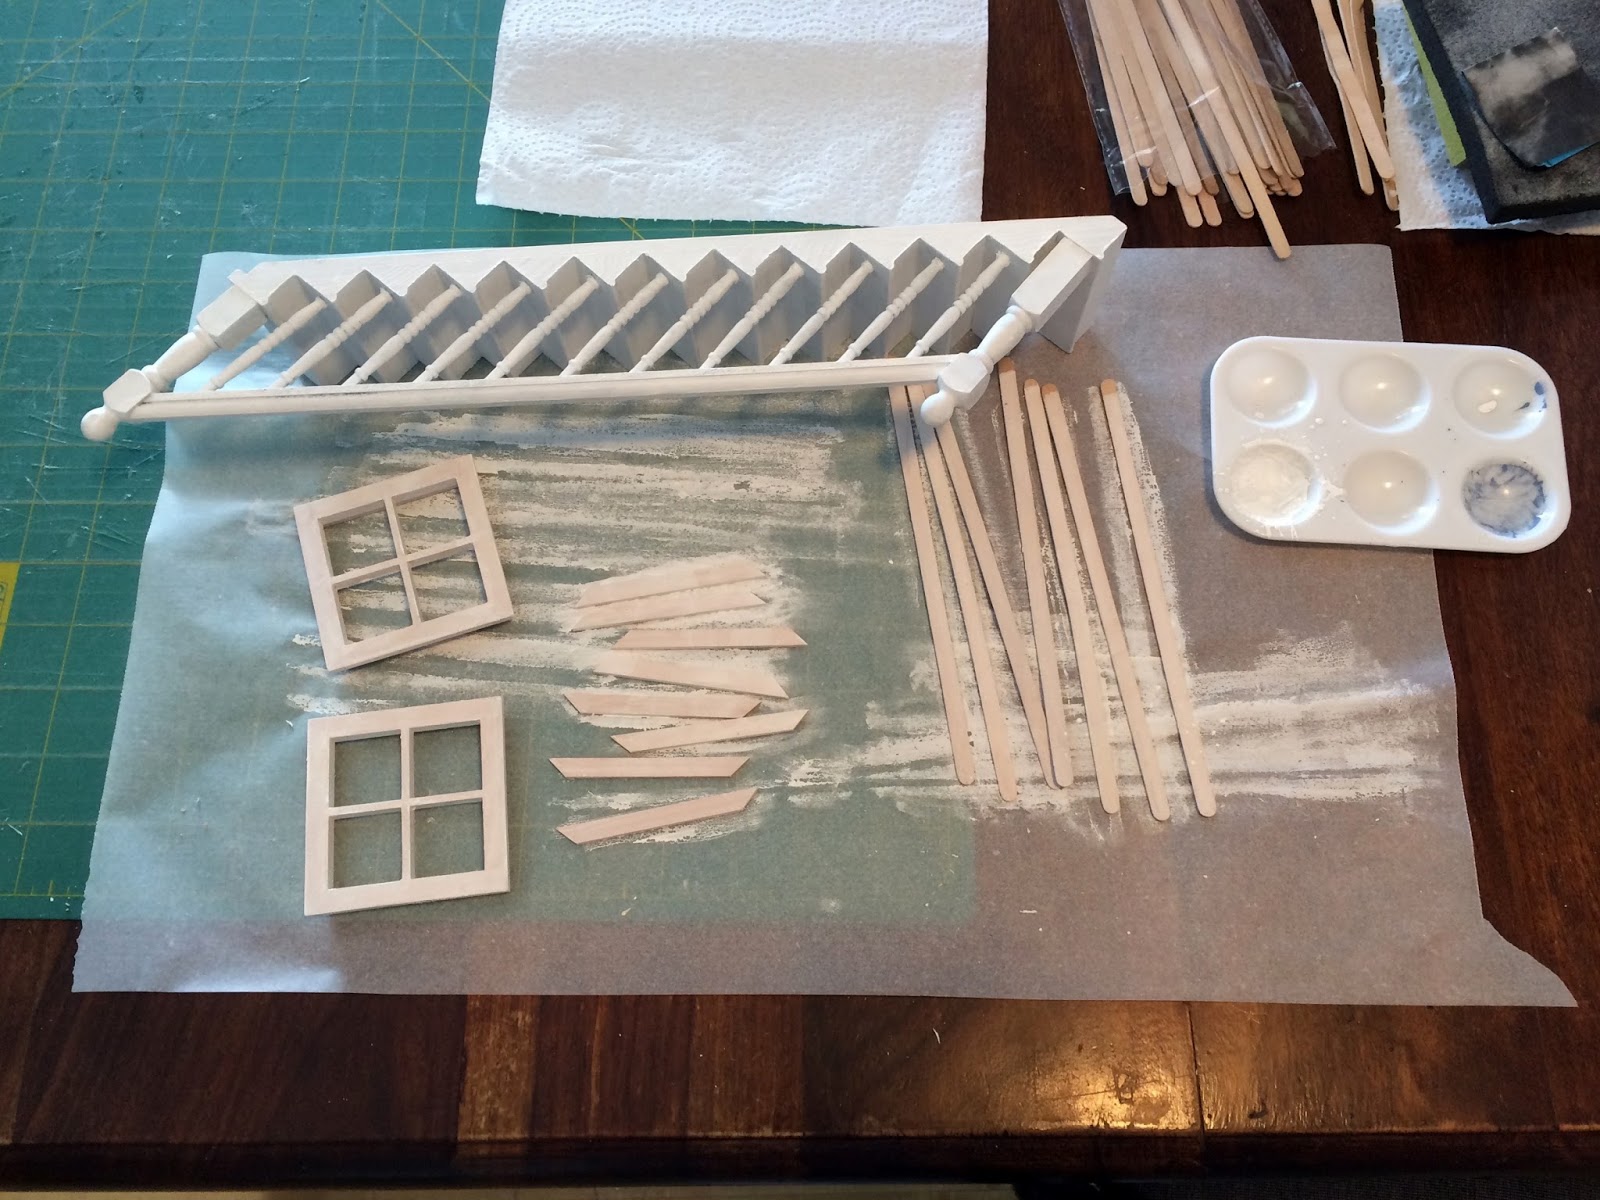
Then I undercoated the stairs (I bought a pre-made set online) and popped them in to see how they looked in place :-)


Then I moved on to the skirting boards, using skinny popsicle sticks (Skinny Craft Sticks from Riot Art - these are 5mm wide unlike regular pop sticks, which are 10mm wide), painted white, and with the round ends cut off. 


The stair set I bought was quite plain, and I felt I needed to fancy it up a bit to fit in with the shabby chic look!  I painted it with several shades of white and blue, then sanded it roughly to age them (although that doesn't show up very clearly in the photo).


I then used small pieces of 2.5 x 2.5mm balsa sticks, cut in half, to add a bit of dimension to the edge of each step.


Lastly, after asking for suggestions on Instagram, I remembered I had a cheap wooden fan I bought to use for miniatures in my stash.  I cut up several of the pieces to make small imitation moulding for each stair end. 


When they are painted painted and roughly sanded, I think they will add a nice touch to the house :-)

Sunday, 17 September 2017

The Dressmaker's Cottage: The Bathroom

Now that the first floor is in place and the flooring is done, I can move onto the bathroom!

Firstly I dry-fitted a dividing wall between the bathroom and the bedroom.  I won't have a "proper" doorway between the, just a gap in the wall at the back of the house.


While it was still flat, I wallpapered it to match the existing bathroom and bedroom papers.  I left a gap at the bottom of the wall as I want to add faux "beadboard" around the bottom of the bathroom walls.


Before I glued in the partition wall, I added the beadboard, made from a packet of mini popsicle sticks (Arbee Mini Craft Sticks from Spotlight), which I had previously cut the rounded ends from.


With that wall done, I moved on to doing the rest of the room.


With the partition wall now glued in place, I began white-washing the beadboard, with the same diluted white acrylic paint as the floorboards.


It needs trimming out, but it's looking good so far I think :-)

Saturday, 16 September 2017

The Dresssmaker's Cottage: Flooring

As per the cottage tutorial, I have used balsa sticks as floorboards.  These came in a packet from Spotlight and are thicker than coffee stirrers - around 5mm wide by 3mm thick (ECObalsa Basics Sticks).  I tried to stagger them for a more realistic look, but I didn't concern myself with getting them too perfect, as I am going for the "shabby chic" look!

Getting started:


Ground floor done!


Lightly sanded:


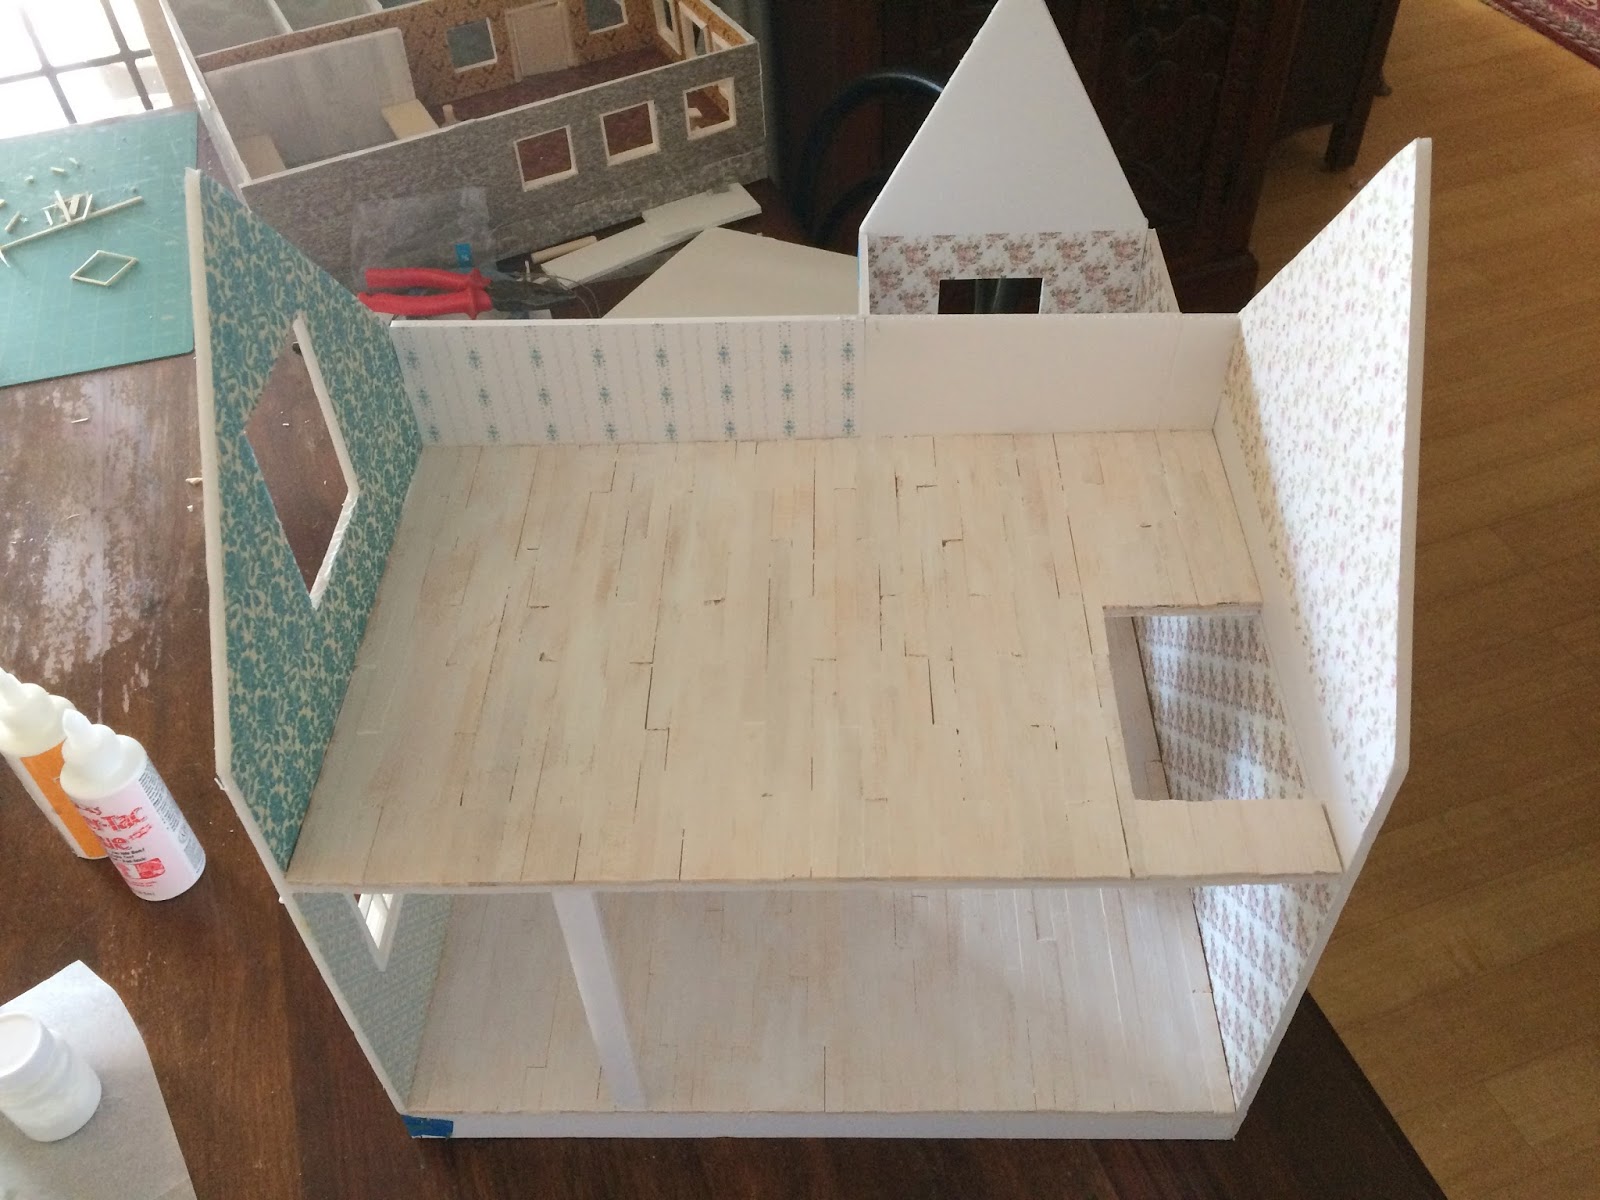
Now it's time for the second floor!  First I dry-fitted a piece of foam board cut to size, with a hole cut for the future stairs on the right hand side.


Once I was happy with it,  I glued the floorboards to it before attaching it to the actual house, so that I didn't have to put pressure on the foam floor.  Plus, it's easier to do when it's flat on the table!


A light sanding and it's time for white-washing!


I used Titanium White acrylic paint diluted with water, to white-wash the floors in order to show up the grain and accentuate the shabby chic look :-)


It's starting to look more like a cottage now!


Sunday, 10 September 2017

The Dressmaker's Cottage: Wallpaper Beginnings

I don't have any 1:12 scale wallpaper in my stash, and ordering it is so expensive when you add in the cost of postage, so I decided tp print my own on my laser printer, and then seal it with ModPodge.

I found most of the patterns I used on Pinterest.  Some were full page, free printables, and others were free tileable pattern blocks.  I opened these in Microsoft Publisher on my laptop and tiled them across the page before printing them out.


It's a LOT easier to apply wallpaper to the walls when you can lay them flat on the table!  So before I glued the walls together, I applied wallpaper to as many surfaces as I could, then cut out the windows and door spaces using a sharp craft knife.


Here you can see the kitchen on the ground floor, and the bedroom upstairs.  The blue damask is almost identical to the wallpaper feature wall my daughter has in her own bedroom :-)


This is the lounge room and the sewing room, which is located in the little extension at the front.  The stairs will run up the right hand wall between the two rooms.  The bathroom will be at the top of the stairs, above the lounge room.


Wednesday, 6 September 2017

The Dressmaker's Cottage: The Beginning

Hi peeps!  I've been having a mini-break, lol.  I know I haven't yet finished the ModPod, but it's my middle daughter's 14th birthday next month, and although my kids have a dollhouse made by my Father-in-law when they were little, I'd love for her to have her own dollhouse to use to display collector's miniatures which are not for playing with ;-)

Now that I have increased my confidence in scratch-building with the ModPod, I would love to have a go at a "traditional" house in 1:12 scale.  I have long admired the shabby chic-style houses built by Cinderella Moments, so when I found a couple of posts on her blog outlining a tutorial for building a cottage, I was thrilled!

So, I have decided to make my take on her tutorial.  Like the ModPod, I will be building it out of foam board  rather then timber, just because I don't have the space or tools required to cut up sheets of timber and plywood!

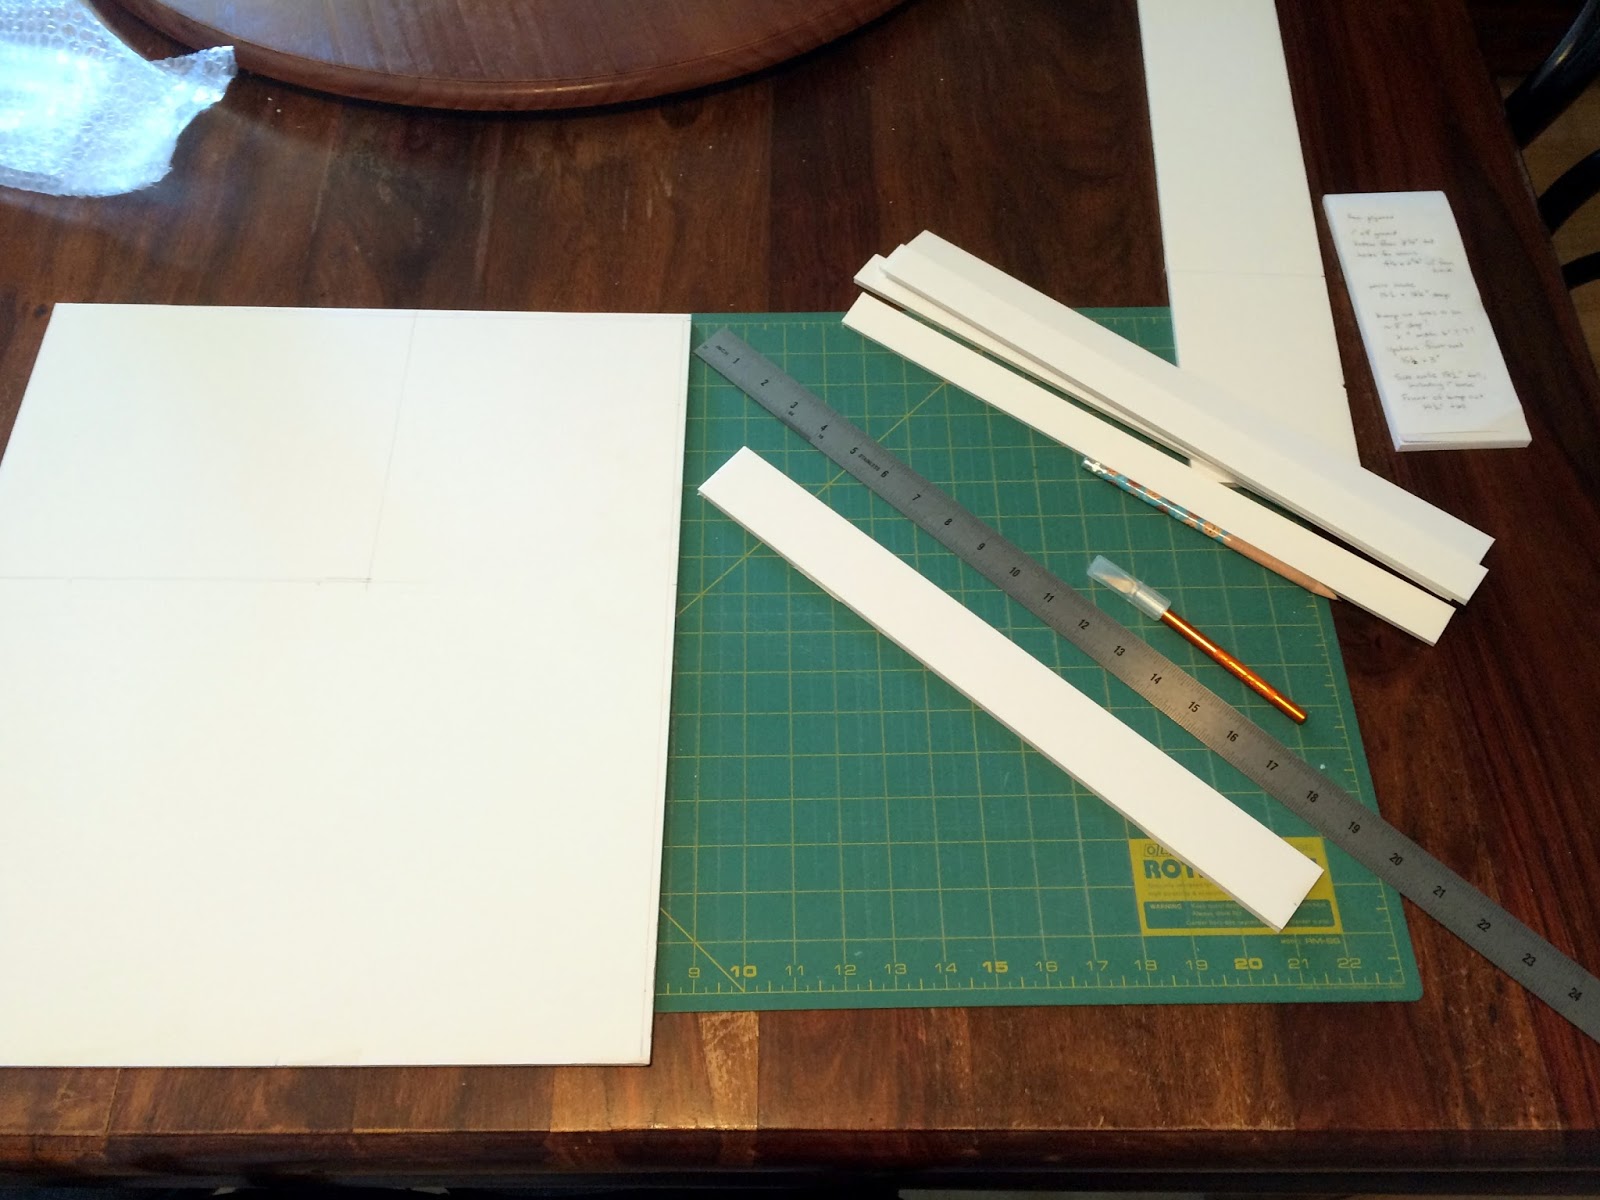
I worked out rough dimensions first and then starting cutting into the A2 sheets of 5mm foam board I had leftover from the ModPod.


First, the base, with reinforcement underneath.  I will cover this with timber trim around the outer edges when I am finished.


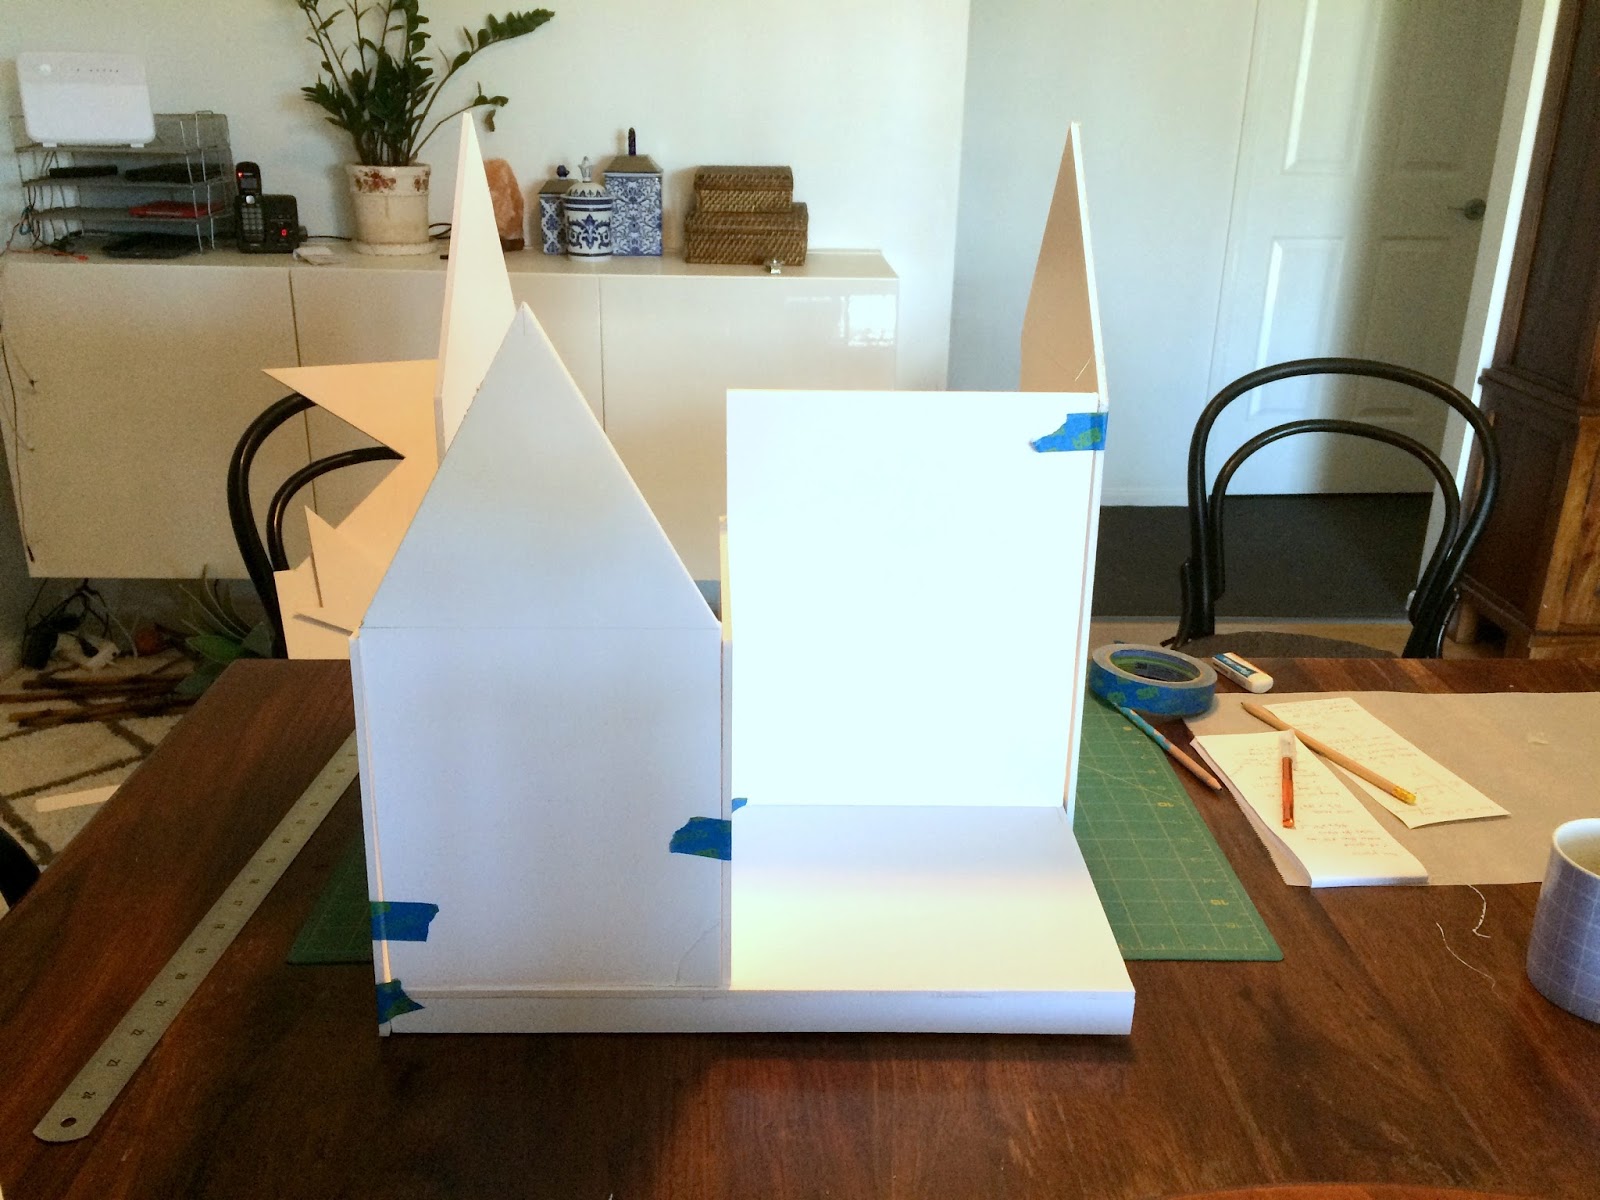
The onto the outer walls.  It will be two storeys high, although the top floors will be like an attic space under the eaves.  There will be a kitchen, lounge, sewing room with a bathroom and bedroom upstairs.  Rear view:


Front view:


The flat space at the front will be a courtyard garden, with French doors leading into the cottage :-)


Saturday, 8 July 2017

ModPod: The Glazing

It took me quite a while to find the right size and width of perspex I wanted for the doors and windows - I ended up having to order some off the internet, so then I had to wait for it to arrive :-)

There are two A4 sized pieces of  2mm perspex, which fit just nicely into the front of the Pod.


In order to mount the sliding doors, I glued pieces of 5mm wide plastic U-channel (from the local hobby shop), painted black with enamel paint, into the inside of the top and bottom of the front of the Pod.


I then realised that the two sides of the door overlapped right in the middle of the kitchen, which obstructed the view of the future modern kitchen!  Plus, I kinda want to put an island table in front of the doors so that the imaginary occupants can admire the view ;-)

So I resolved that by cutting down the two 2mm pieces of perspex and using a 3mm piece, cut to size, in the middle.  The middle piece will stay in place and the two outer doors will slide across.  All of them can be moved or removed for photographs - the 2mm pieces flex enough when bent to pop them in and out of the U channels.  The 3mm piece is too thick to remove that way, but it can be slid out of the way when the doors are removed :-)

The doors with the protective film in place:


Here I've removed the film from the middle "door" and Ive started framing the sliding doors:


Fro the framing I had to use something very think, or it would make the doors too thick to slide easily in the tracks, so I ended up using strips of thick craft paper, which I painted black and glued on with roller sticky tape!  Tacky glue dried too thick and ran out around the edges of the paper.


I used off cuts from the 2mm perspex to cut the slit windows, and popped them into place.  I'll leave the protective film on until I've finished so they don't get accidentally scratched.

The black box on top of the roof is the battery pack for the ceiling lights.  I'll use some black tubing to cover up the wiring when I mount it to the back wall, where I hope it will look like a power or air conditioner control box!


Ta da! Sliding doors!


I'm still debating what to use for door handles.  I found some pieces in my jewellery findings - they are the T bars from a couple of sets of bar and loop bracelet joiners - which I painted black.  I stuck them on with Blu-Tak to see what they look like:


Hmn, they'll do if I can't find anything else before I finish the Pod, although I don't know how I'll permanently attach them yet. 

Now for the interior!!  I have a few bits and bobs to put in, but the main construction is really the kitchen and I'm waiting for kits to arrive from the UK, from ELF Miniatures, to start.  I'm going to make the cupboards myself from scratch, but I've ordered a fridge, sink and taps and an oven front to insert into the cupboards, plus a few other things.  Exciting!