Wednesday 27 April 2016

The Bunker: Playing with the Entrance

I've been fiddling around with designing an entrance door surround for my building, and so far I have this fairly plain surround, which will be painted to resemble concrete.


I can't decide if it needs to be more prominent or not - I have cut a second piece of 3mm basswood to go behind the front to give the entrance more depth, but I'm not sure if I like it?

Anyway, I stippled the entrance and the pieces of basswood which will form the window sills and pediments with the Jo Sonja Texture mix to see how much texture it would add.  I started by diluting the mix slightly with water but it didn't need it. I used an old, rough paint brush to dab the paste on.  I can see from the photo below that I need to sand the top section and have another go as it still looks quite rough.


When I get the chance I will dab on some grey paint mixes and see how they look.  So far I am optimistic that with some additional weathering on the exterior, that it will look OK.

Saturday 23 April 2016

The Bunker: Shell glued together

It's been a lovely lazy, overcast day here and so I pottered along with my Art Deco building.

I finished cutting the dividing wall between the kitchen and the store room and glued it in place, then glued the second floor on.  It was only when I went to glue the third floor wall and the roof on, that I noticed the huge mistake I've made!  Can you see it?  Yep, the two dividing wall on the first and second floors are in the wrong spot! Argh!

I measured the locations of these walls so carefully, and double checked that it was all OK - and I thought I had it marked which side of the line I was to glue the wall on... but OBVIOUSLY when I glued the bottom floor wall in place, I glued it on the wrong side of the pencil line.  I'm so cranky with myself.


It's not a lot out of alignment, and you can't see it from the outside of the house, but it hits me in the face every time I look at it. I couldn't move the top wall over to match because otherwise it wouldn't line up with the facade.  I tried gently removing the walls with out destroying them so I could glue them in again, but they weren't going to give without a fight!


Man! So annoying! And such a rookie mistake too. Ah well, chalk it up to experience.

Anyway, then I got to work on the facade again, and made up the extensions to go along the roof lines.  I have no idea what the technical name of these things are... Parapets?  I think the curved piece above the main tower is a pediment? Or are pediments only above windows? LOL.


I was pretty happy with how it turned out, it really adds to the character of the building.


The "lip" of the roof will be concrete, with bricks below and a railing around the outside.   Next I need to add the sills to the windows and the concrete feature strip (lintels?) above the windows.


Meanwhile, I'm trying to decide if I will leave the windows antique white, or paint them black (or steel grey).  I think the off-white looks a little too "pretty" lol.


Thursday 21 April 2016

The Bunker: Thoughts on lighting

I've been thinking a lot about whether I want to electrify this house. It has quite deep rooms - with no windows once the facade is taken off - and it would be quite dark I think, without lights.  However, I found the 1:24 scale lights I used for my last build to be very fiddly and frustrating! They are easy enough to install, but putting the plugs back on the ends of the tiny, brittle wires drove me insane, and as a result, they are still sitting unfinished.

Besides which, there are very few commercially available lights in Art Deco style, and none that I liked in half scale.  So that leaves the option of making my own.  Small LED lights are relatively inexpensive and can be plugged into a small 3V battery pack which would be convenient as I wouldn't need a transformer and a power point nearby.  Also, the wires are much thinner and smaller and can be more easily hidden behind the false walls I plan to install.


Chip LED light kit for 3v battery


The problem is of course, that I have never made anything even remotely like a miniature light before, and I worry that my imagination outstrips my actual ability!  I guess it worst comes to worst, then I can leave them as "down lights".

I have very few pictures of the lights from the Supernatural set. There are Art Deco style pendant lights on the ceiling in the library, plus two different types of wall sconces, table lamps and downlights inside the top of the built-in bookcases.

One of the wall sconces in the library

The other rooms seem to be a combination of task lighting (desk and floor lamps) and wall sconces.  Anyway, I have ordered a few 1.8mm LEDs and a few LED chips from the US and I will see how I go!

Tuesday 19 April 2016

Facade assembled

So the facade is all glued together and ready for bricking and decorating.  First I need to add the extensions at the the roof line, so I have started cutting them from 5mm basswood.

Meanwhile I have also glued the first few walls of the shell together.  I have the first floor in, the partition wall between the war room and the library, and the two side walls together.  I enclosed the partition wall a little with 5mm basswood, so as to make a large doorway, rather than the existing arch.


I now need to decide a) if I am going to electrify this model (and if so, where will the lights go), and b) where the partition wall will go between the kitchen and store room. In this area, the wall would need to extend into the facade (the inside of the waterfall wall), which makes it a little trickier, and I need to take the windows into consideration.

I've been looking for some way of replicating the texture of concrete for the facade but haven't had too much luck finding something that would be acceptable in 1:24 scale. I finally settled on trialing some Jo Sonja Texture Paste which I bought at Spotlight. It is fairly thick so I will try thinning it with a little water and colouring it with grey paint when I mix it up, then stipple it on gently with a small sponge?  Otherwise, I have seen a couple of techniques using talcum powder and acrylic paint mixed together.

Sunday 17 April 2016

Painting and gluing

After undercoating the exterior shell prices with grey acrylic, I decided to paint the windows with Semco Antique White craft paint. It's an off white with a hint of grey, and I plan to add some rust when I weather the exterior, as many of the industrial windows were steel frames.

Today I started gluing the exterior together.  I started with the "waterfall" rounded wall, and then glued the two right hand walls to the front base board. Then I moved onto gluing the first floor section to the inside of the waterfall wall, and then glued it, and the roof to the base board. I'll let that set up overnight and when I glue the front wall on as well, the facade will be together, yay.

I'm using Helmar's Tiger Grip, but I'm worried that perhaps I should have used Selley's Aquadhere, my general woodworking PVA glue?  I'm also concerned that the MDF will need a few tack nails to add enough stability to the joints so that they don't fall apart while I am handling the shell.  I don't have a vice so I have no idea how I will manage to do that without breaking the shell apart while I am hammering!  I guess I will wait and see how robust the joint is after 24 hours of setting.  As a newbie, it's hard to know which glue to go with, especially as the majority of dollhouse miniatures blogs I peruse are based in the US, and we don't have their usual brands here in Australia.


While waiting for the glue to set, I've been looking for some artworks for the Bunker library. I actually managed to find the map of the US used on the Supernatural set (the large, lighted one in the Crow's Nest) which I will use.

Many of the other photos and prints used on the set are difficult to discern from the photos I have seen, so I will use some random vintage photos I think.  I found a lovely old vintage map of Newcastle, where I live, which I will print out to scale and frame.  I also have some old black and white family photos I scanned years ago, I might find something suitable among those too.


Port of Newcastle


Saturday 16 April 2016

Teeny tiny bricks...

And so it begins....

Cutting lots and lots of egg carton bricks, each 10mm x 5mm, for the sake of convenience, although not exactly to scale.  This is what approximately 500 bricks looks like:


Not very impressive is it?! Given I am going to be bricking most of the facade, and all of the sides (!), I am going to need a LOT more bricks.

I've also been trying to sketch a mock up for the facade, but my drawing skills are sadly lacking.  I converted a photo of the Art Deco dollhouse kit to a pencil sketch in a photo-editing program and printed it out, then scribbled a rough idea of what I want on it.

Something like this:


I can't decide if I want bricks or stucco between the windows, to make the facade a little more interesting?  I will do the concrete sills (from balsa wood sticks) and the concrete strips above the windows first, and then see what it looks like.  I think the Men of Letters would have a very understated building, so as to not draw attention to themselves, so I feel that too much decoration would not be in character.

To take a break from brick-making, I undercoated the front and side pieces. I used craft paint, Jo Sonja's Nimbus Grey, as I want to use grey grout for the bricks.


I still can't decide whether to paint the windows off-white or black?  I have seen black on Art Deco buildings, although a creamy yellow is much more common, even on industrial buildings.

Friday 15 April 2016

Store Room: Mood Board

The store room in the Men of Letters bunker in Supernatural (Room 7b) is not only a store room, but behind a couple of swivel shelves, is a "dungeon" of sorts, containing a Devil's Trap in iron on the floor.

As I mentioned previously, I don't have the room for both the store room and the dungeon, so I was going to combine them both in a small room off the kitchen.  There will be lots of shelving, containing interesting bits and bobs, and a trap in the floor. Maybe chains on the wall!

Here are some screen shots of the store room and dungeon I grabbed from Google images:


I can't decide how to make the doorway between the store room and the kitchen - I kind of feel it should be secret, but I'm not sure how to achieve that in reality.

Anyway, food for thought.

Thursday 14 April 2016

The Bunker: Kitchen & Mess Mood Board

The kitchen and mess will be located on the second floor of the dollhouse. The mess will be off the stairs, and the kitchen, on the other side of the dividing wall. 

These are some pics of the Supernatural set I found on Google:


In amongst the miniatures I ordered from Shapeways, I have ordered this 1:24 scale vintage oven. So cute! I've also seen an old fashioned cabinet kit on a dollhouse website which I hope to paint to resemble the large fridge/freezer unit on the back wall.


I won't be making my kitchen as big as the actual one, as I would like to devote as much space as possible to the store room/ dungeon, which will be located adjacent to the kitchen.  Other than that, I haven't thought too much about these areas yet.

Wednesday 13 April 2016

The Bunker: Library Mood Board

Books, books and more books, with some artifacts thrown in basically!  Plus tables and chairs of course.  These are some stills from the Men of Letters bunker set from Supernatural.


At the far end of the room is an alcove featuring a telescope. I'm not going to try and replicate that, instead I will place a fireplace on that wall.


The bookshelves are built into the walls in the set, but given the limitations of my dollhouse, I'm not sure I want to build mine in or I will lose too much space. I'm also not sure how many tables I will be able to fit into the room until I make up the kit table I purchased and see it in the room. I'm just going for the feel of the space anyway, not an exact replica.

I've never made any books before, but I can see my teeny tiny book-making skills are going to get a work out!!

Monday 11 April 2016

The Bunker: Bedroom Mood Board

Most of my inspiration for the Bunker dormitory comes from screen shots of Dean's bedroom found at The Winchester Family Business website.

Sam's bedroom.

Sam's bedroom.

Dean's bedroom
Dean's bedroom

Dean's bedroom
Dean's floor. I thought it was concrete but this still shows that it appears to be grey vinyl tiles.


Dean's sink and medicine cabinet

I have ordered Jane Harrop kits for an Art Deco double bed, two bed side tables and a chest of drawers, which should go nicely in the bedroom.  I plan to round off the top edges on the drawers and side tables.


I also found a US site (SELtd.net) selling scale automotive accessories, and I was able to order a sink and mirror kit, a waste basket, rotary phone, trunk and vintage desk lamp to go in the room.  If the trunk doesn't fit, I will put it in the store room.


Because of the placement of the window, double doors and stair will in my room, I won't be able to mimic the layout of the Men of Letters (MOL) Bunker bedroom too closely, but I will see what I can fit into it. Ideally I would like to add a desk and chair, as well as an Art Deco beside lamp.  I'm not sure what to use as a light - and I still haven't decided if I will electrify the house or not.

I haven't been able to find any grey floor tiles online so far, so I may have to print these out on card stock if I can find a suitable image. The same goes for the brick sections of the walls - I'm not sure at this scale if it is worth it to bother making teeny tiny bricks, or just use a print out of a suitable image and seal it with a matte lacquer spray.   Hmn.

Saturday 9 April 2016

The Bunker: Crow's Nest/ Foyer: Mood Board

 Pics of the Men of Letters Bunker from Supernatural are below.  I don't have this much space in my house kit, so it will be a very simplified version.

Crow's Nest panorama
Doorway between Crow's Nest and Library.


Floors: Grey vinyl tiles.

Walls: Concrete skirting. Black subway tiles above to picture rail height, then white subway tiles, a concrete strip and more white subway tiles.

Make the kit doorway between the foyer and the library smaller, and outline it with a concrete feature edging.  Add the feature floor tiles between foyer and library (of course!).


Feature floor tiles between the Crow's Nest and the Library.


Chess table and wing chairs upstairs from the Crow's Nest.

I have ordered two Queen Anne wing chairs from the 3D printing shop, Shapeways, and a filing cabinet. I have never painted miniature plastic furniture before, so I am curious to see how they turn out!

Friday 8 April 2016

The Bunker: Interior Layout Ideas

So the Art Deco "Bunker" build has five rooms plus the upstairs conservatory. I'm not sure how well a conservatory fits within the industrial theme, lol, but I purchased it before I had decided to go with the brick and concrete look.

Anyway, the main rooms from Supernatural's Men of Letters Bunker I'd like to include in my build are:

The Crow's Nest/ War Room.  I'm not sure about this room as it might be past my capabilities as a newbie, but it would work nicely into the area inside the front door.  Perhaps I could modify to have a chess/ smoking area and a 1950's computer bank?


The Library. This is a definite. Most of the Bunker scenes are filmed here, and has a wonderful atmosphere with lots of books and treasures.  Most likely this will go in the largest room on the ground floor.


The Kitchen/ Mess area. Probably on the first floor. I might have the mess area next to the stairs, leading into the kitchen through the arch?


One of the Bedrooms/ dormitories. Probably on the top floor leading out to conservatory.


The Store Room/ Dungeon/ Room 7b.  Realistically I don't have room for a dungeon, but I could divide the largest room on the first floor into two, and have the kitchen on one side and the store room on the other. The store room would house lots of the Men of Letters treasures.


Other random interior thoughts:

* The stairs definitely need Art Deco railings. Given that it is very hard to buy any decent railings in 1:24 scale, let alone anything Art Deco, I will have to make these myself.

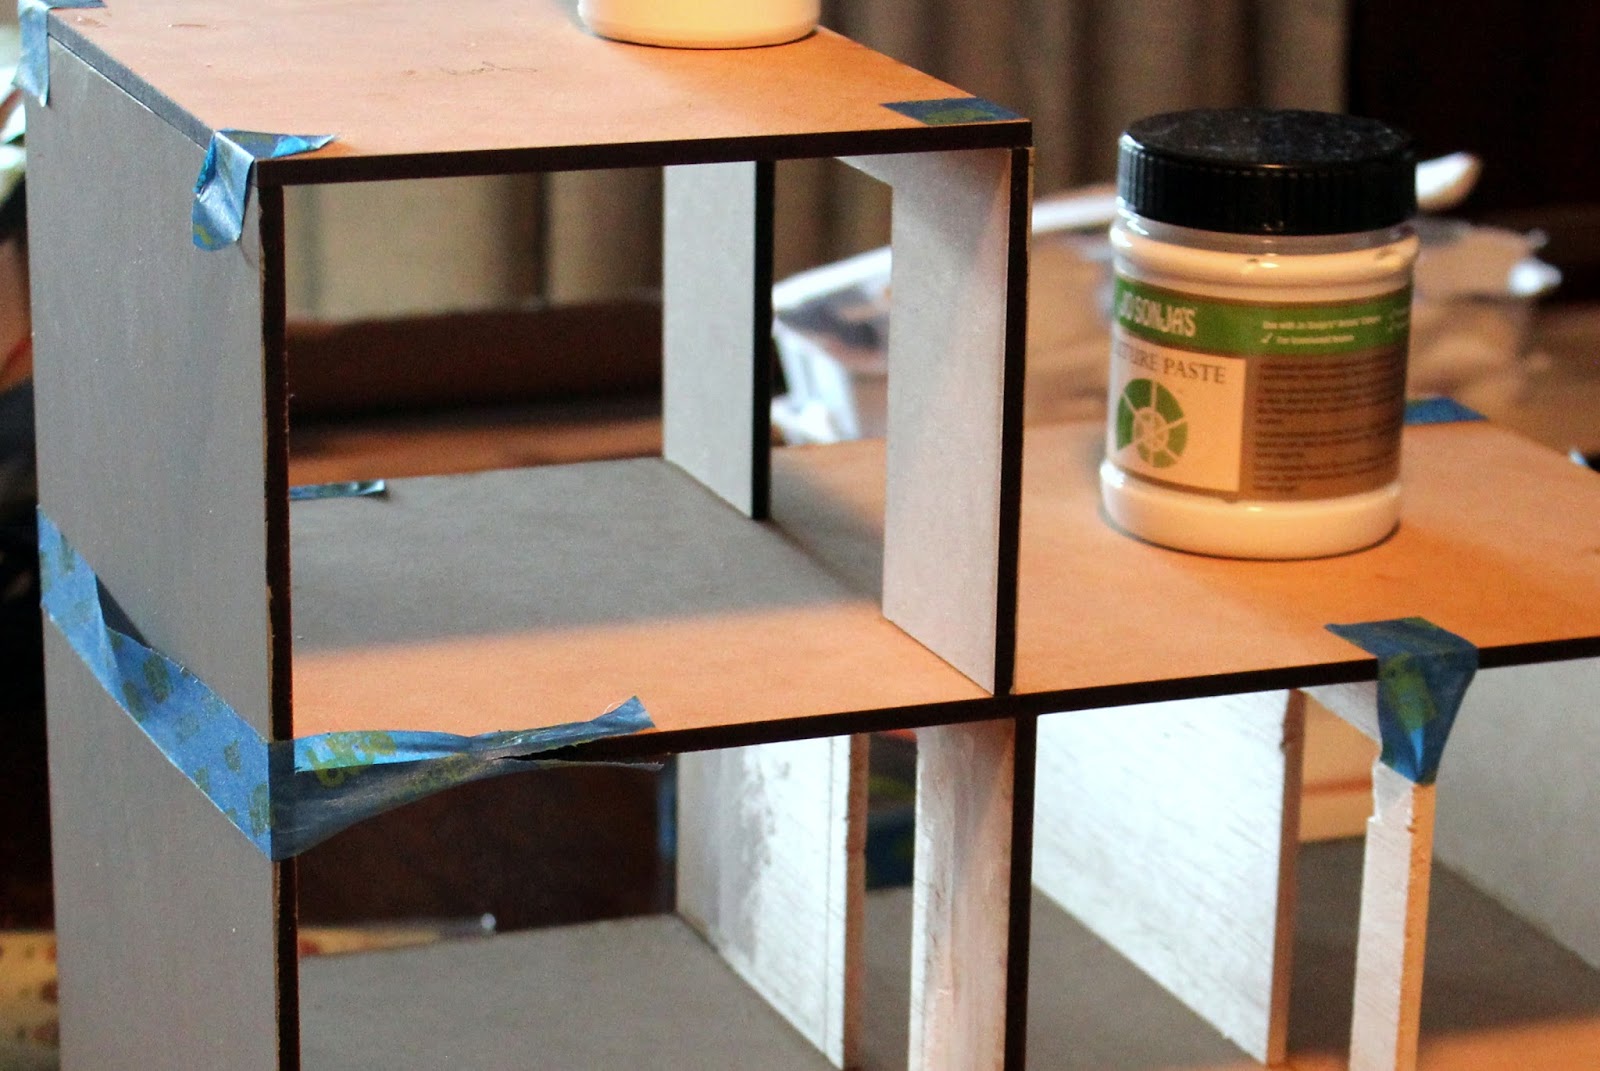
* I think I may utilise removable interior wall panels in order to facilitate decoration.  My painting skills are pretty poor at the best of times, and I don't trust myself to do a decent job in an enclosed space. Using thin board (PAlight?) which I can pop in and out, seems like a much easier option.

* Floors. Hardwood in the library, and perhaps the bedroom? Elsewhere concrete, which I am not yet sure how to do.

* Walls to be brick, concrete and tiles. I will probably have to make the subway tiles myself. In fact, I'll probably have to build most things from scratch! I'd better go and have a look at some tutorials, lol.