Wednesday, 9 May 2018

The Dressmaker's Cottage: Bathroom Progress

I've been playing with the bathroom for the last couple of days.  I started by making a faux roman blind for the dormer window.  I cut a section of fabric with lace trim to fit the window from an old handkerchief, and glued a short piece of white-painted trim (skinny sticks) either side of the top.  I added a couple of folds, which I glued in place, and then glued the blind to the top of the dormer.

Next, I used most of the remainder of the hankie to make a shower curtain.  I folded the top down and threaded 4mm jump rings (in antique bronze) through the lace to act as curtain rings.

The heaviest gauge wire I had in my stash was only 20 but I used it anyway! I cut a length to fit and painted it with tarnished brass distressing paint. Then I threaded the curtain onto the rod, and glued a jewellery spacer on either end.

Using pins, I pleated the curtain roughly and sprayed it heavily with hair spray and left it to dry overnight.


Here is the dormer blind and shower curtain in place - please excuse the dark photos as it is over cast today :(


Of course then I had to check how the curtain looked with the bath tub!  The bath tub as is, is pretty boring and uninspiring:


I used the tarnished brass paint again on the taps, and the legs but the outside was bothering me.

I only have acrylic paints on hand, which obviously won't adhere to the porcelain so I was stumped for a while, until I remembered that I have a porcelain pen in my stash.  It needs to be baked on to ensure a permanent finish - which I didn't want to do for fear of ruining it! - but I think it will be OK as long as it isn't handled too much.  I was pretty happy with the shabby, mottled look of one rough coat with the pen.


I felt it needed a bit more aging though, so I went over the dry ink first with a Walnut Stain distressing paint dabber, and then a Weathered Oak (grey) paint dabber.  Not too bad?


I also added a bit of staining to the drain ;-)


And here it is in situ.


I think it is coming along OK, considering that Shabby Chic is NOT my thing at all, lol!!


This is the bathroom with the sink and toilet from the set the tub came from added in.


I'm not happy with the boring toilet as it is, but I am not sure what to do with it to help it tie in with the bath tub?  I was originally thinking of painting the seat pale pink but perhaps that would clash with the black tub?  Although it would probably clash less than the timber seat does now! 

I will also age the sink taps with tarnished brass to match the bath taps, and possibly mount a shelf above the bath for storing toiletries.  I also need to hang the mirror above the sink.  Then, once the stair railing is complete, the bath room will be ready for accessories :-)

Tuesday, 8 May 2018

The Dressmaker's Cottage: Fixing and Futzing

I found the glue gun back this morning and went to work fixing the awning, fence and greenery which was knocked off when the house took a tumble (the shelf it was sitting on collapsed!), so it's nice to have that back on before it all got lost - or eaten by the cat!

While I was at it, I added a house number from a set by Tim Holtz. Cute :-)


Then I glued in the blinds and curtains I ordered from a local seller on Etsy.  I am really pleased with how they turned out, they suit the parlour nicely!  I will try and make the other blinds myself with bits of lace.


I have no idea where to even start with the other blinds but I guess I will learn, lol.  I have the two small dormer windows in the bedroom and bathroom and then the larger bedroom window and the kitchen window.  I don't have any lace wide enough to use in one piece in my stash which is a shame, so I might see if my Mum has any scraps she could share :-)

Monday, 7 May 2018

The Dressmaker's Cottage: Interior Trim Finished

I pottered away this week finishing off the interior trim. I had to paint some more skinny sticks and trim, and then finished off the cornices, skirting and other bits of trim.

In between, I worked on the fireplace, as that had to be installed before I could finish the trim on that wall.

I added a small piece of leftover textured brick paper to the rear of the mantel, and painted it. I made a hearth out of a scrap piece of balsa wood and painted it too, then added a little highlighting to the mantel with a Tim Holtz dabber in Weathered Oak.  It's not great, but you can't see too much of it as it is side-on to the rear opening.


It's nice to have the French doors glued in so that the cat will stop knocking them out, lol.  I aged the handles with some Tim Holtz distress ink in Tarnished Brass and used beads (also aged with the ink) as handles on the inside.


Next up is to complete the railing for the staircase return in the bathroom, but I soon discovered that I don't have any spindles in 1:12 scale (heaps in 1:24 scale lol) so I have had to order some and will wait for them to arrive.

In the mean time, I will work on the curtains and blinds.  I ordered a couple of pre-made blinds and a set of curtains on Etsy from a local mini-maker, which are really cute!  They will go in the bump-out.  This was originally going to be the sewing room, but now I think I will swap the sewing room with the lounge area so that you can see all the cute sewing miniatures more easily. It would be a shame to have everything tucked away where you can't have a good look at it all :-)

So, for now I am scrounging through my fabric box to see if I have anything suitable for blinds for the two dormer windows, and curtains for the bedroom and kitchen windows.

Monday, 30 April 2018

The Dressmaker's Cottage: Interior Beginnings

Well, my mini-making became stalled for several months after my daughter #1 was given a kitten for her birthday... and that kitten is Very Naughty!  I learnt very quickly that tiny miniatures, glue and paint are irresistible to energetic kittens who haven't been taught not to jump up on tables so my gear has been packed up until now.

Now, daughter #2, the owner of The Dressmaker's Cottage, has asked that I finally finish off the interior, please!

This is how it is at the moment.  There are some repairs required after the house had a tumble off shelf (!) and then next is to finish off the remaining trimming - door & window frames, cornices & skirting boards and the stair posts.


After that, the curtains and blinds and the fireplace... and then the furniture!  I have lots of bare wood pieces which need painting and decorating before they go into the house too.

Decorating is NOT my forte, so I'll see how I go, lol.

Tuesday, 31 October 2017

Halloween 2017: The Mini Mausolem diorama

Happy Halloween peeps!

It was actually sunny today, but that made it almost as difficult to take nice photos of the diorama without it fading out the colours.  Oh well, one day I will learn how to use my camera properly (and/or how to use Photoshop ;-) )

Remember, if you click on a photo, it will make it bigger.


There are a lot of things I would do differently, but I think it turned out pretty well for my very first diorama :-)


Monday, 30 October 2017

The Mini Mausoleum: Part 4

Landscaping time!

Sorry about the terrible lighting in the photos, it was so dark and overcast today, it was difficult to get any decent photos at all.

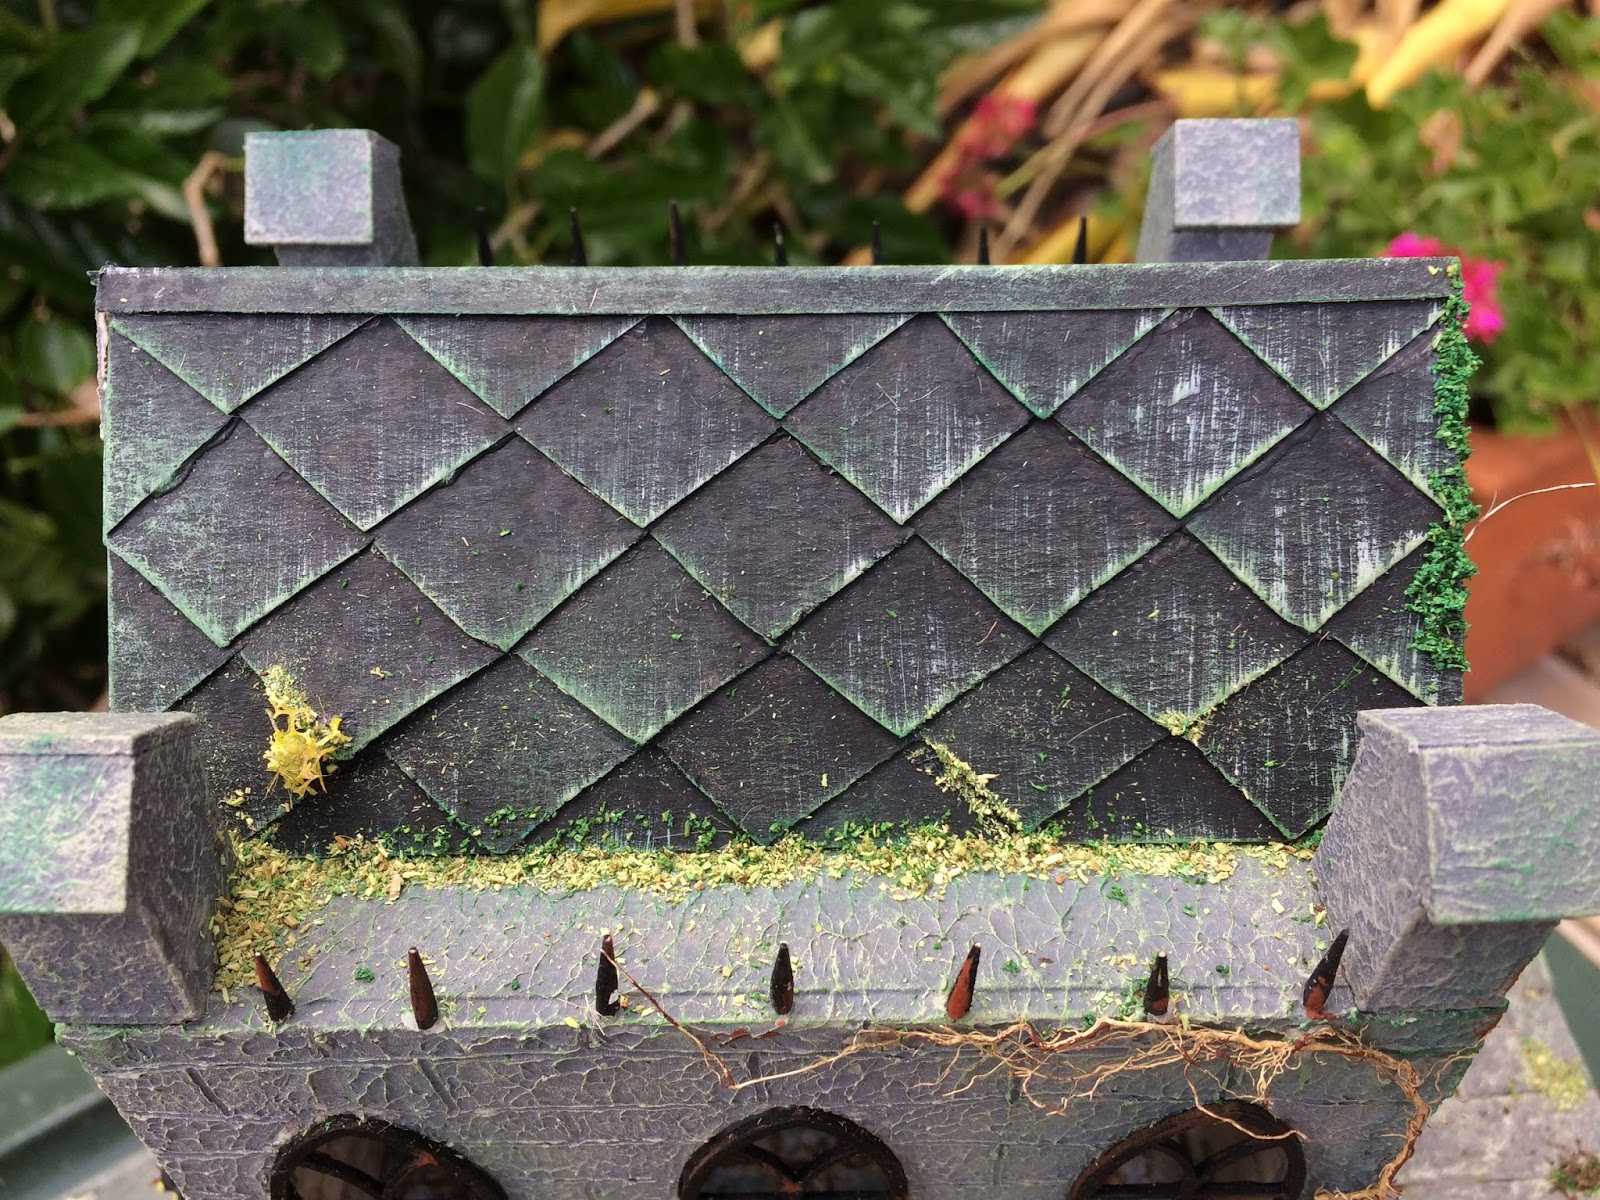
Anyway, I knew I wanted to add some greenery to the Mausoleum, so I used Super-Tac glue and medium green flocking to add some creepers, and light green flocking for moss along the roof and some of the tiles.


I added small tufts of "dead grass" made from twine around the walls of the Mausoleum and the headstones. To make them, I used a tip I picked up on Pinterest - unravel the end of a piece of twine and then cut short lengths off it.  Pick them up individually using tweezers and glue them on end, onto the board (I used using Super-Tac glue). 


A close up of the headstones before landscaping.  They are from Lemax Spooky Town.


First I used medium green scatter across the board, followed by "dead grass", again made from twine by unraveling the end of a very fine twine and snipping small pieces off, all over the top of the board.  I then added small plants and shrubs using coloured craft moss (which I bought in various in packets from Spotlight).


At this point I decided that there was too much green!!  I thought about for a day or so, but still couldn't stand it, so I painstakingly picked most of it off until I thought it looked better, and then added lots of "dirt", i.e. dark brown scatter, and "gravel" scatter.  When I was happy, I set the landscaping scatter with "wet glue" - watered down white glue with a few drops of dishwashing detergent added to it - and let it dry outside.

When dry I decided it needed some sort or fencing to finish it of, so I added a crooked fence made from toothpicks painted black.  I help keep them semi-upright, I made a "dead hedge" base from more craft moss.


Now, it is 99% finished I think?! Is any work actually ever properly finished, lol?  Tomorrow is Halloween however, so if I decide to do anything more, it might have to wait for a "refurbish" next Halloween :-)

Thursday, 26 October 2017

The Mini Mausoleum: Part 3

Now it's time for the windows and turrets!  Yes, I did decide to add the turrets :-)

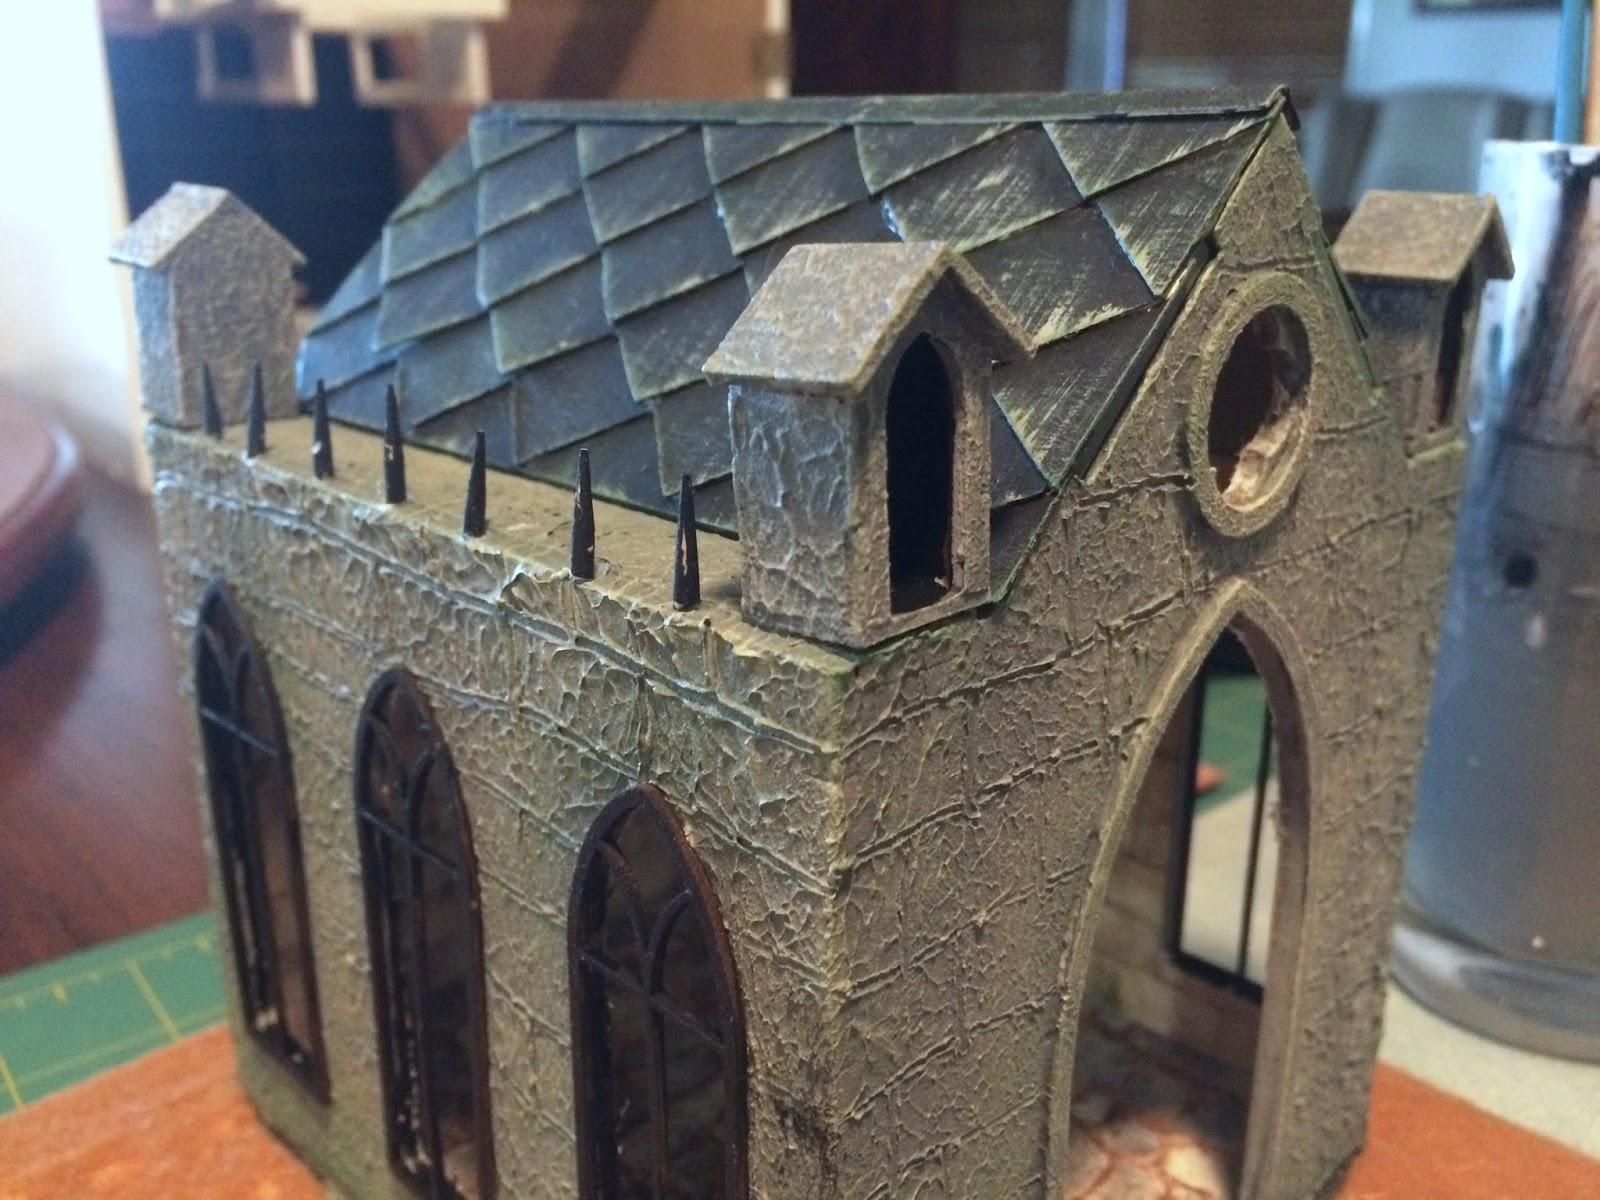
The window frames were painted black first, and then glued in place on the exterior.  I'm loving the Gothic effect, which is what drew me to the kit in the first place.

Left side:


Right side:


I painted the turrets with texture paste and paint, to match the rest of the Mausoleum, and affixed them to the roof corners.  It needed a little something else, so I added spikes made from the tips of toothpicks, painted black.  I tried using tacky glue to affix them to begin with, but they kept falling over, so I ended up using tiny dabs of Tacky Wax. Works great!


The turrets needed a little something too, but all I could find in my stash that would fit was this little skull. Looking better :-)  I think it might have come from a Spooky Town kit too.


As you can see from the last pic, it was now time to move onto landscaping the diorama :-)  I started by painting the board (which is a plain craftboard placemat from the craft section of Bunnings) a dark brown.  Leaving spaces for the headstones, tree, the path and the Mausoleum, I covered the rest with pumpkin-orange thin acrylic felt which I pulled from my stash.  Although it's not it's Autumn here in Australia at this time of year, I wanted to go with a dead-foliage and grass look.

I then made the pathway from pieces of egg carton, cut into rectangles, painted grey and then highlighted with off-white acrylic paint - similar to the exterior of the Mausoleum - to simulate stone pavers.


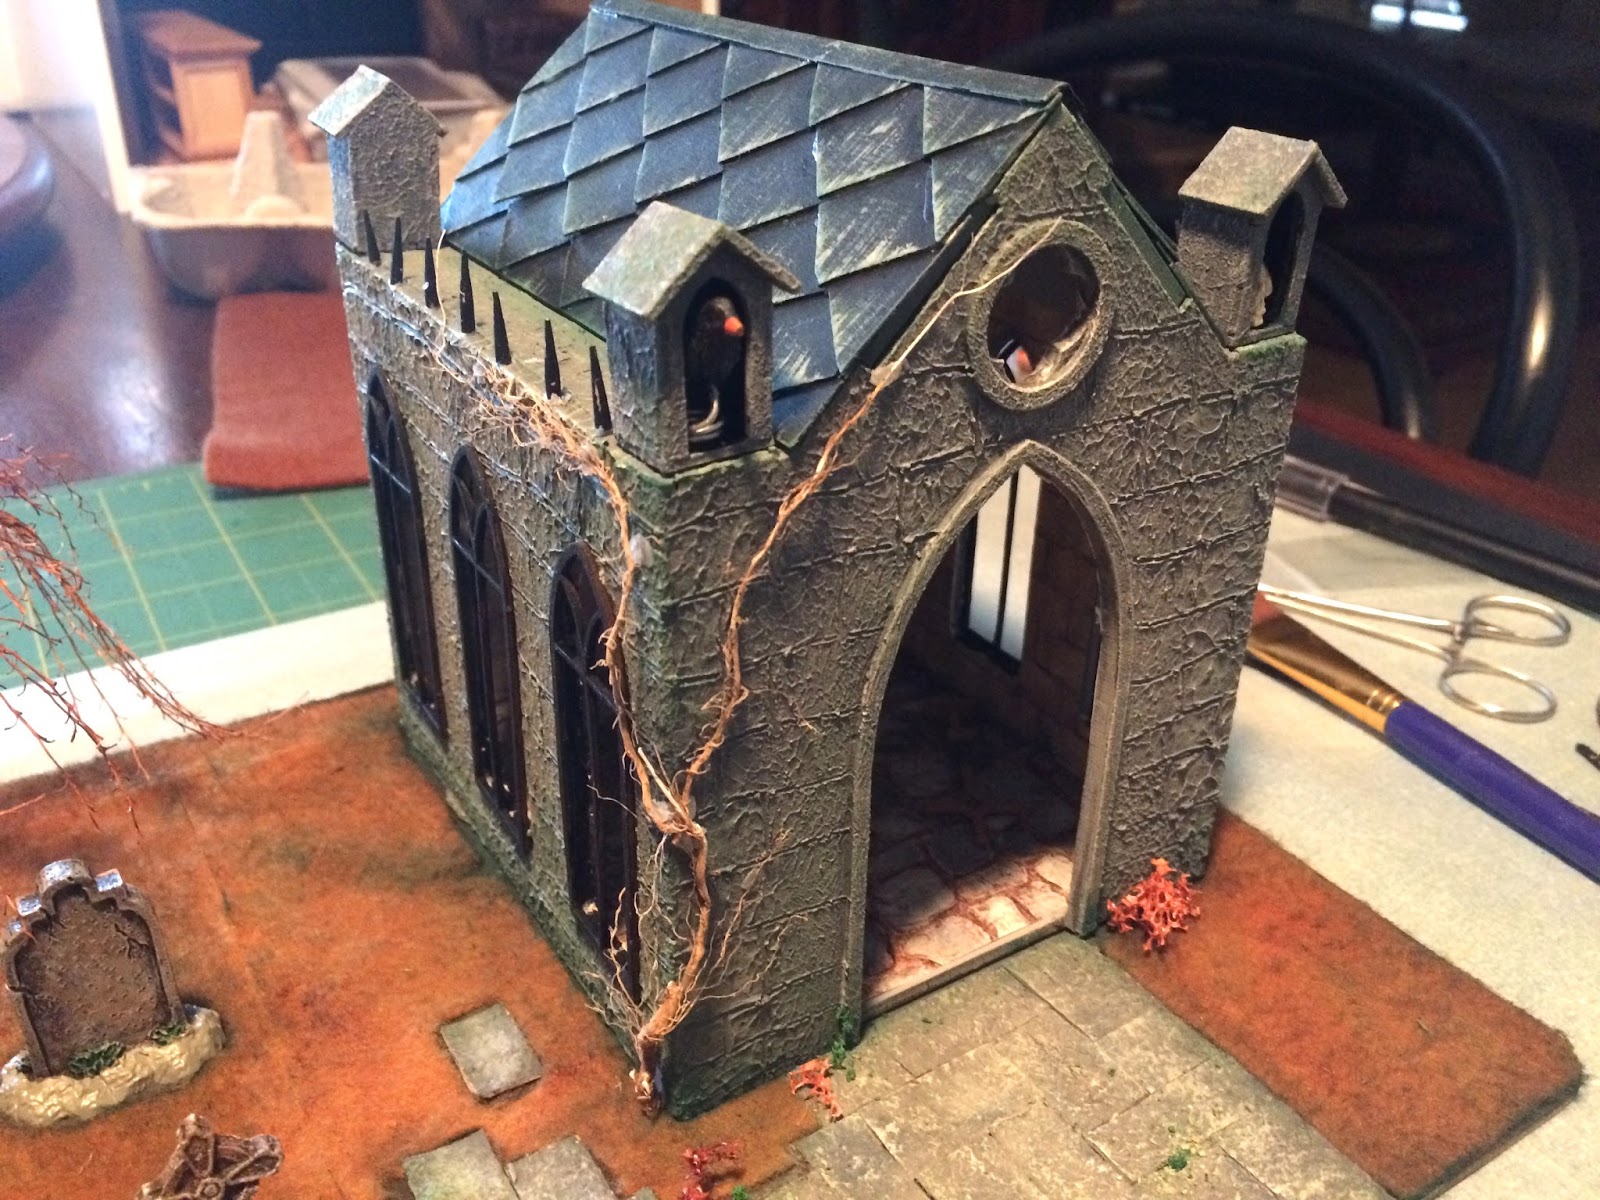
With the Lemax Spooky Town headstones, tree and the Mausoleum in place, the Halloween diorama is starting to take shape!


I added a dead vine to the exterior, using a dead root from a weed (which I had purposely set aside to dry the last time I did the weeding in the garden :-), which I attached using Tacky Wax. I started using hot glue but it left really obvious blobs of glue.


Next up, the rest of the landscaping!